I recently started learning how to play pedal steel guitar. It’s quite a big instrument and I was having some challenges working with standard music stands so I went looking for something more suitable.
Tom Bradshaw in the US makes a very nice clip-on music stand using aluminium which looks great. My problem though is shipping costs and customs. I know from experience that I would end up spending as much as twice the list price getting it shipped to my home in Ireland.
So here’s my take on Tom’s design. It’s made from inexpensive waste water plumbing components, it’s lighweight and it’s strong enough to support my music folder, my tablet, my tuner and my box of picks.

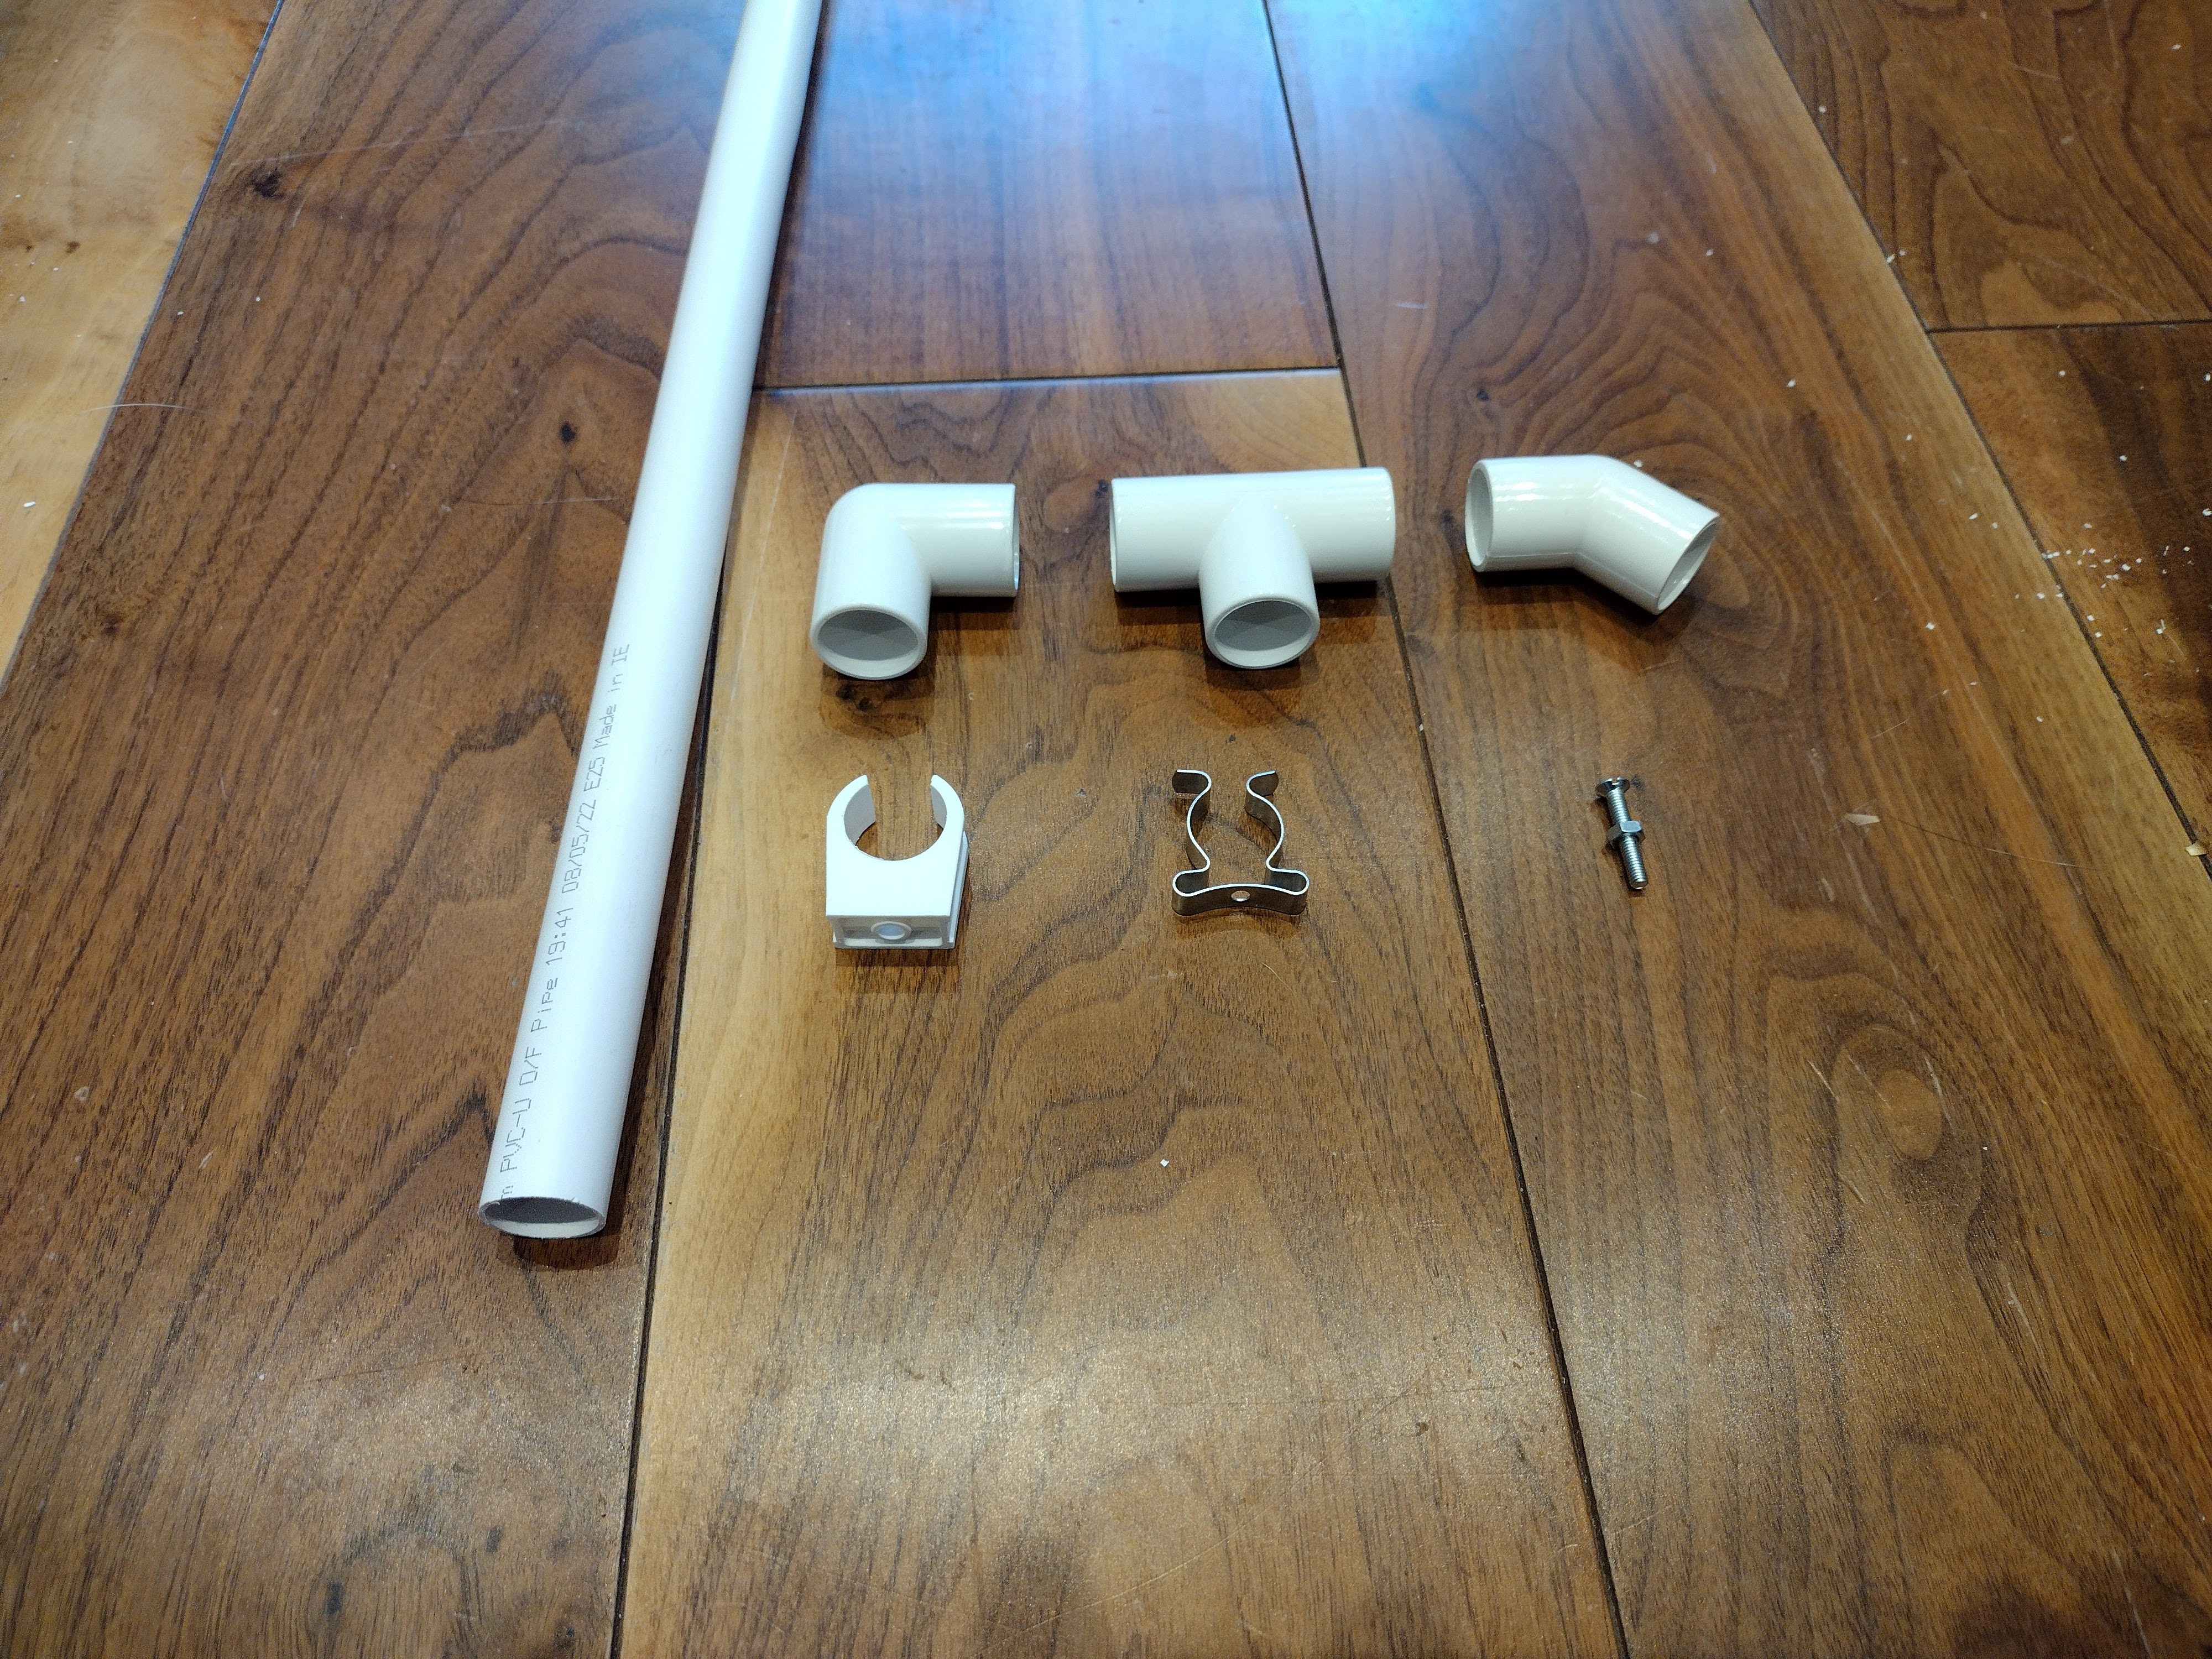
All the components I’ve used are based on 21.5mm (approx. 3/4″) PVC pipe. In my case my shopping list was as follows:
2 x Overflow Pipe White 21.5mm x 3m (approx. 10′)
6 x 90 degree bend joint
2 x 135 degree bend joint
4 x T-junction joint
4 x waste pipe clip
4 x 3/4″ zinc-plated tool clip
4 x M4 countersunk machine screw with bolt
2 x hose clip (16 – 25mm)
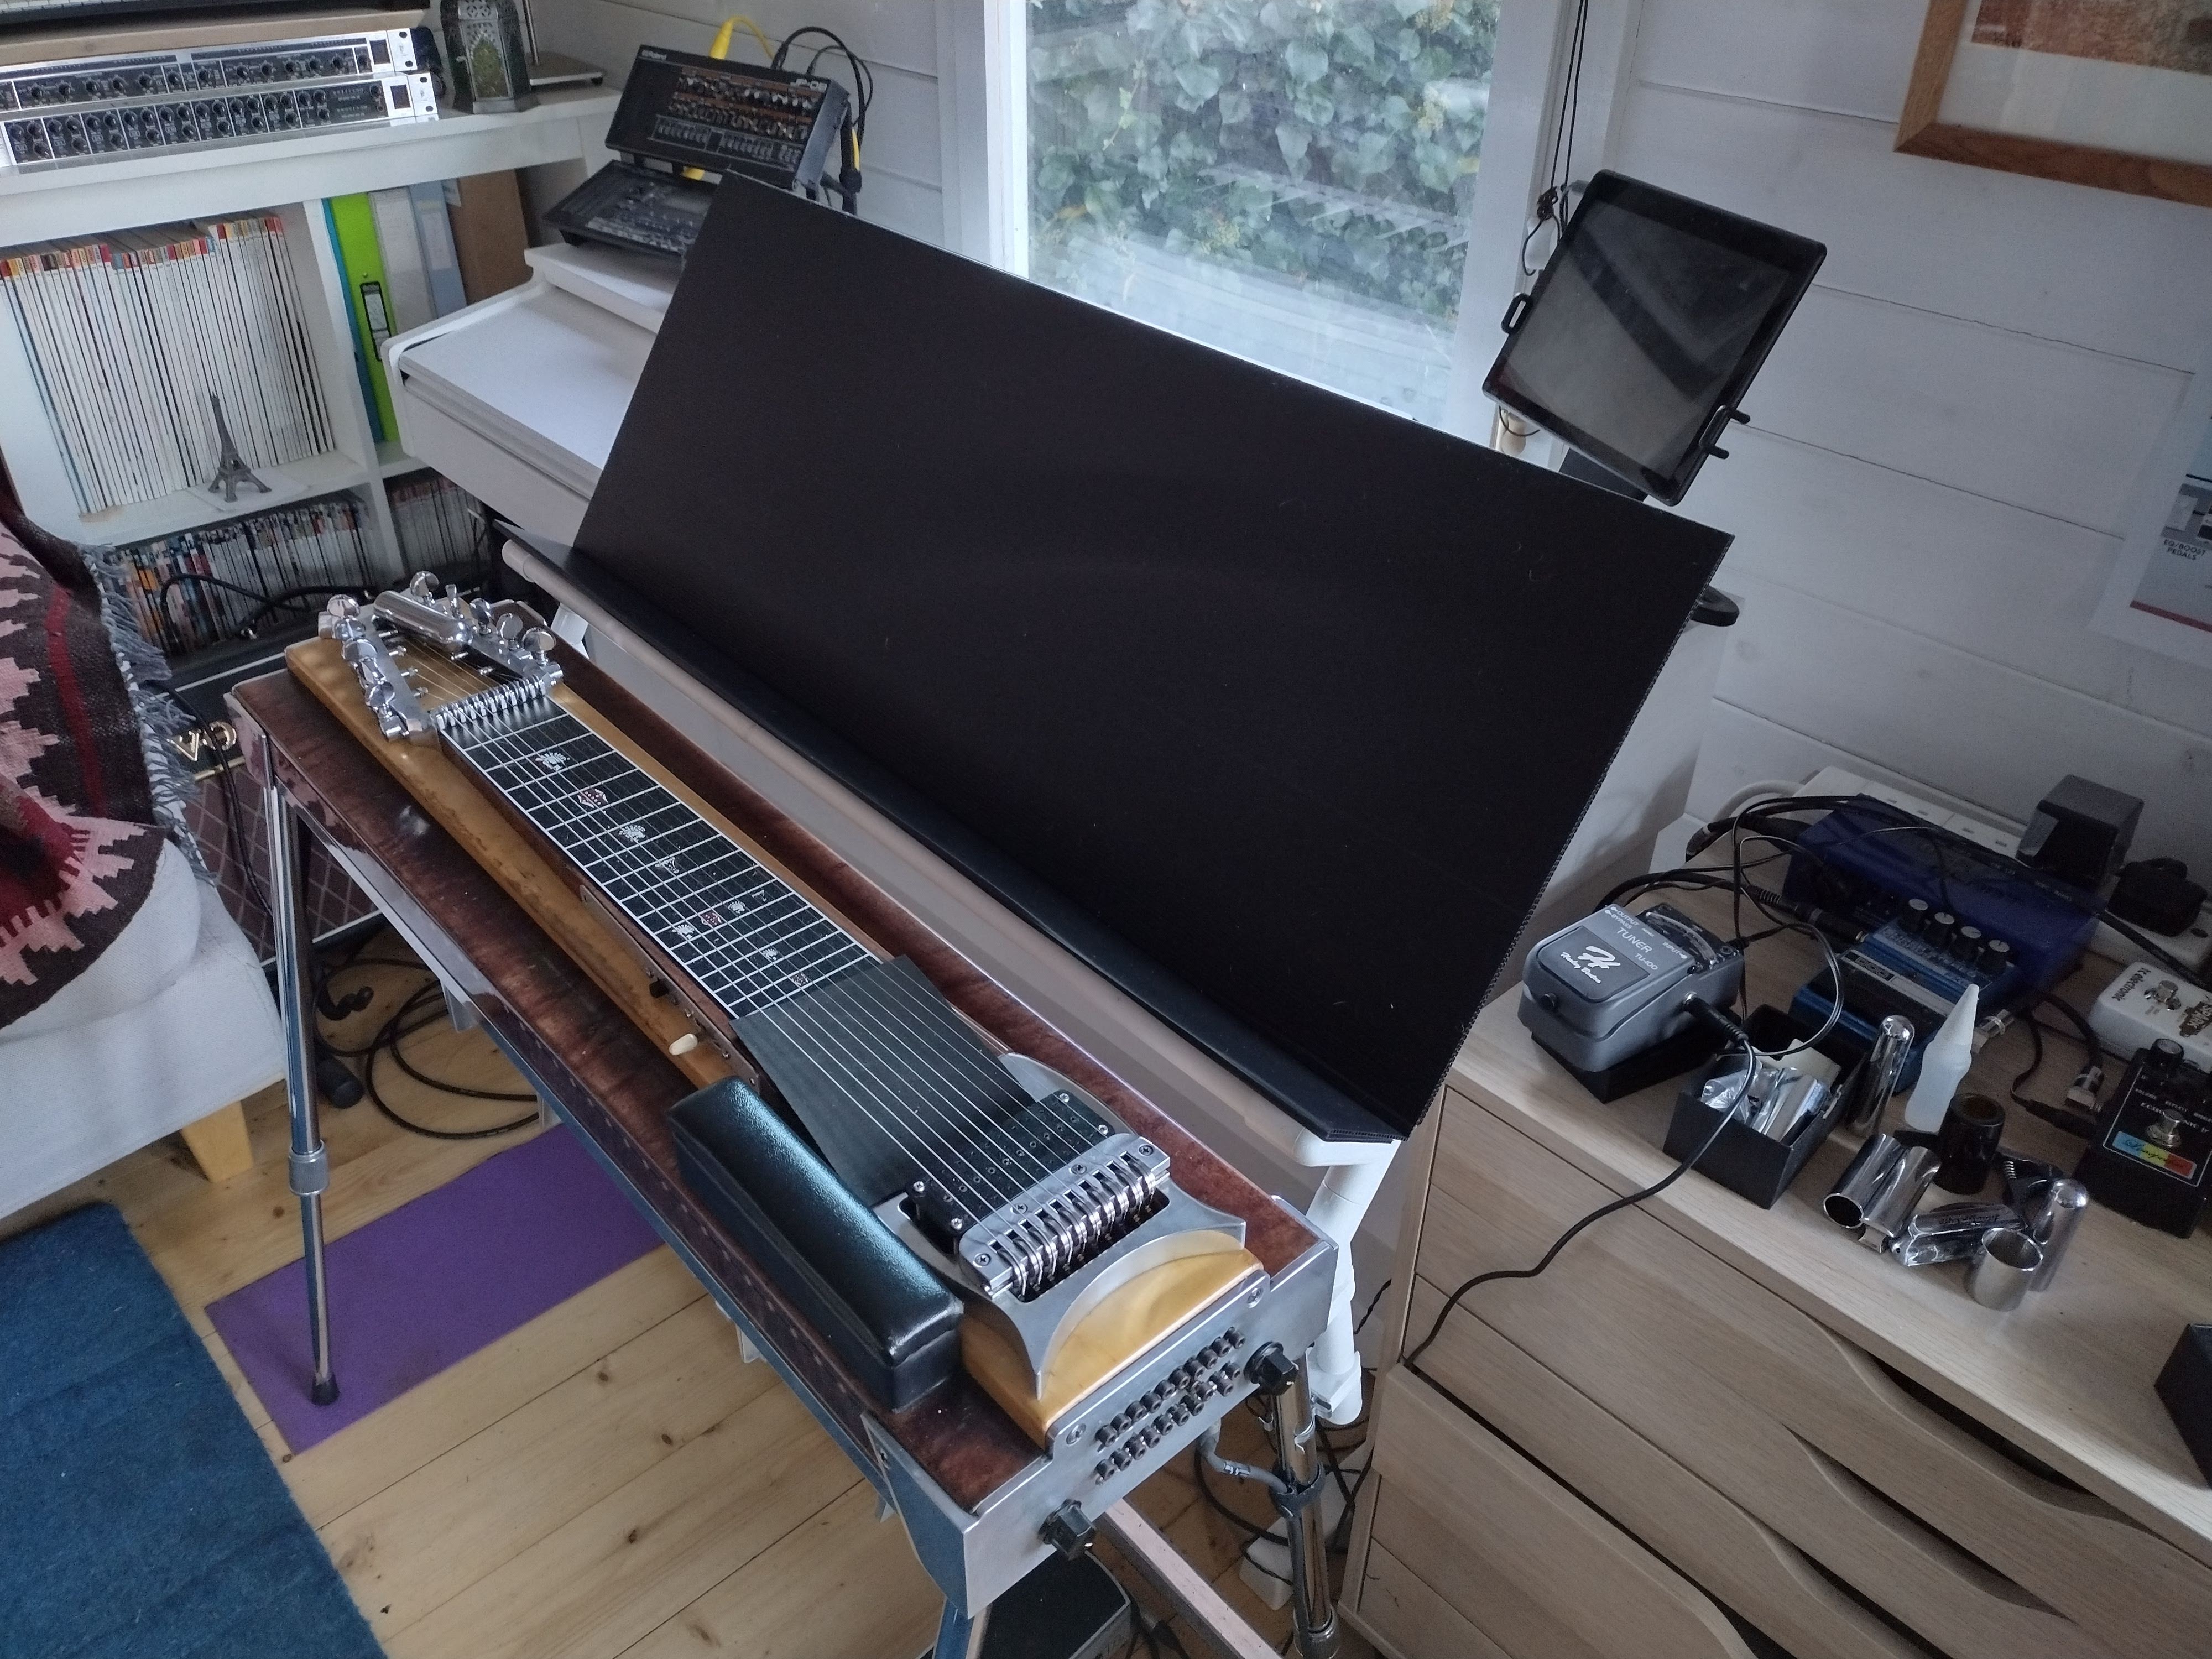
90cm x 40cm of some stiff card or board material to rest your music on. I’m using a double layer of corriboard (sometimes called correx or corry board).
I also bought some of this. It’s a clear solvent cement that you can use to bond everything together. You don’t necessarily need to do this as the joints are pretty tight but I found it useful. You should certainly assemble everything dry first and make sure it fits your guitar before bonding.

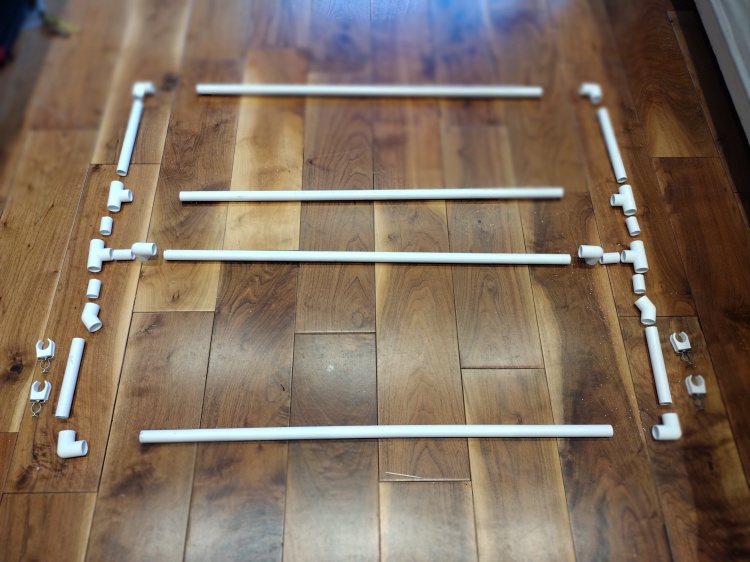
Cut the pipe into the following lengths:
4 x 830mm (this is based on the spacing of the legs on my ZB Custom – just make sure that this piece with right-angle joints on each end is the same length as the outside measurement of the legs.)
2 x 145mm
2 x 205mm
6 x 36mm
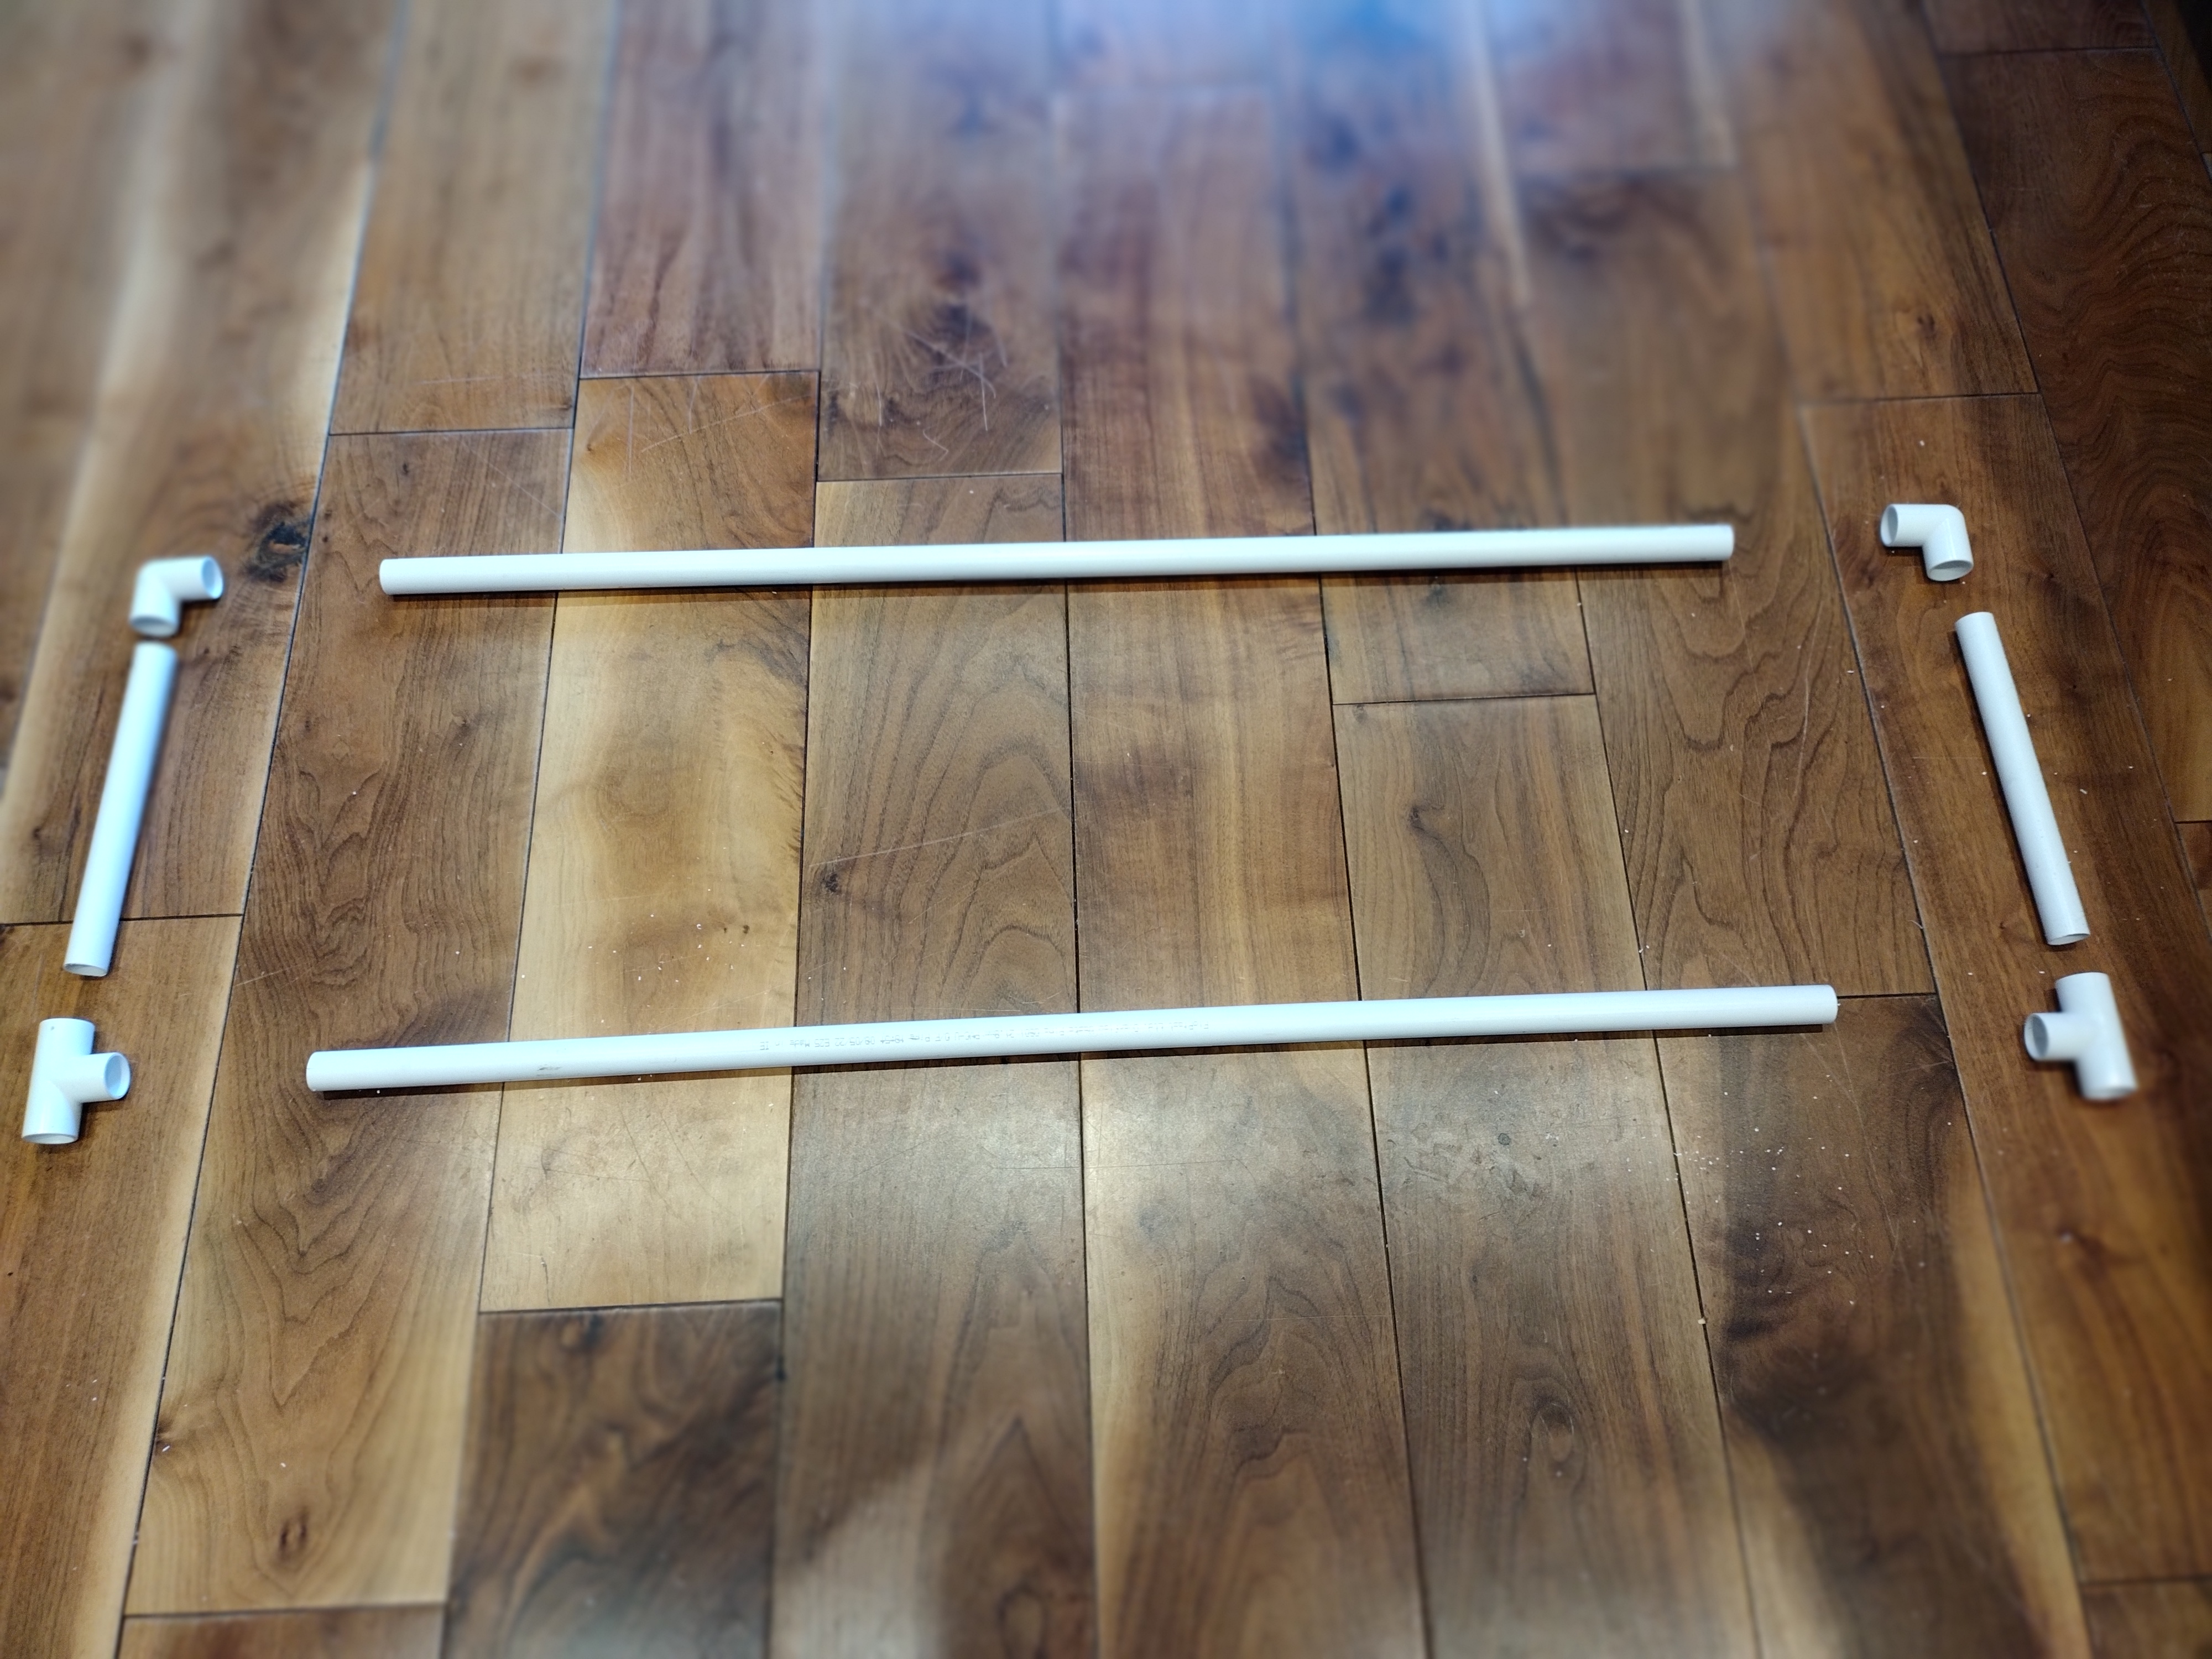
Laying everything out on the floor pre-assembly is a good way to work on this. Here’s everything arranged with the 205mm pieces towards the top of the picture and the 145mm pieces at the bottom:
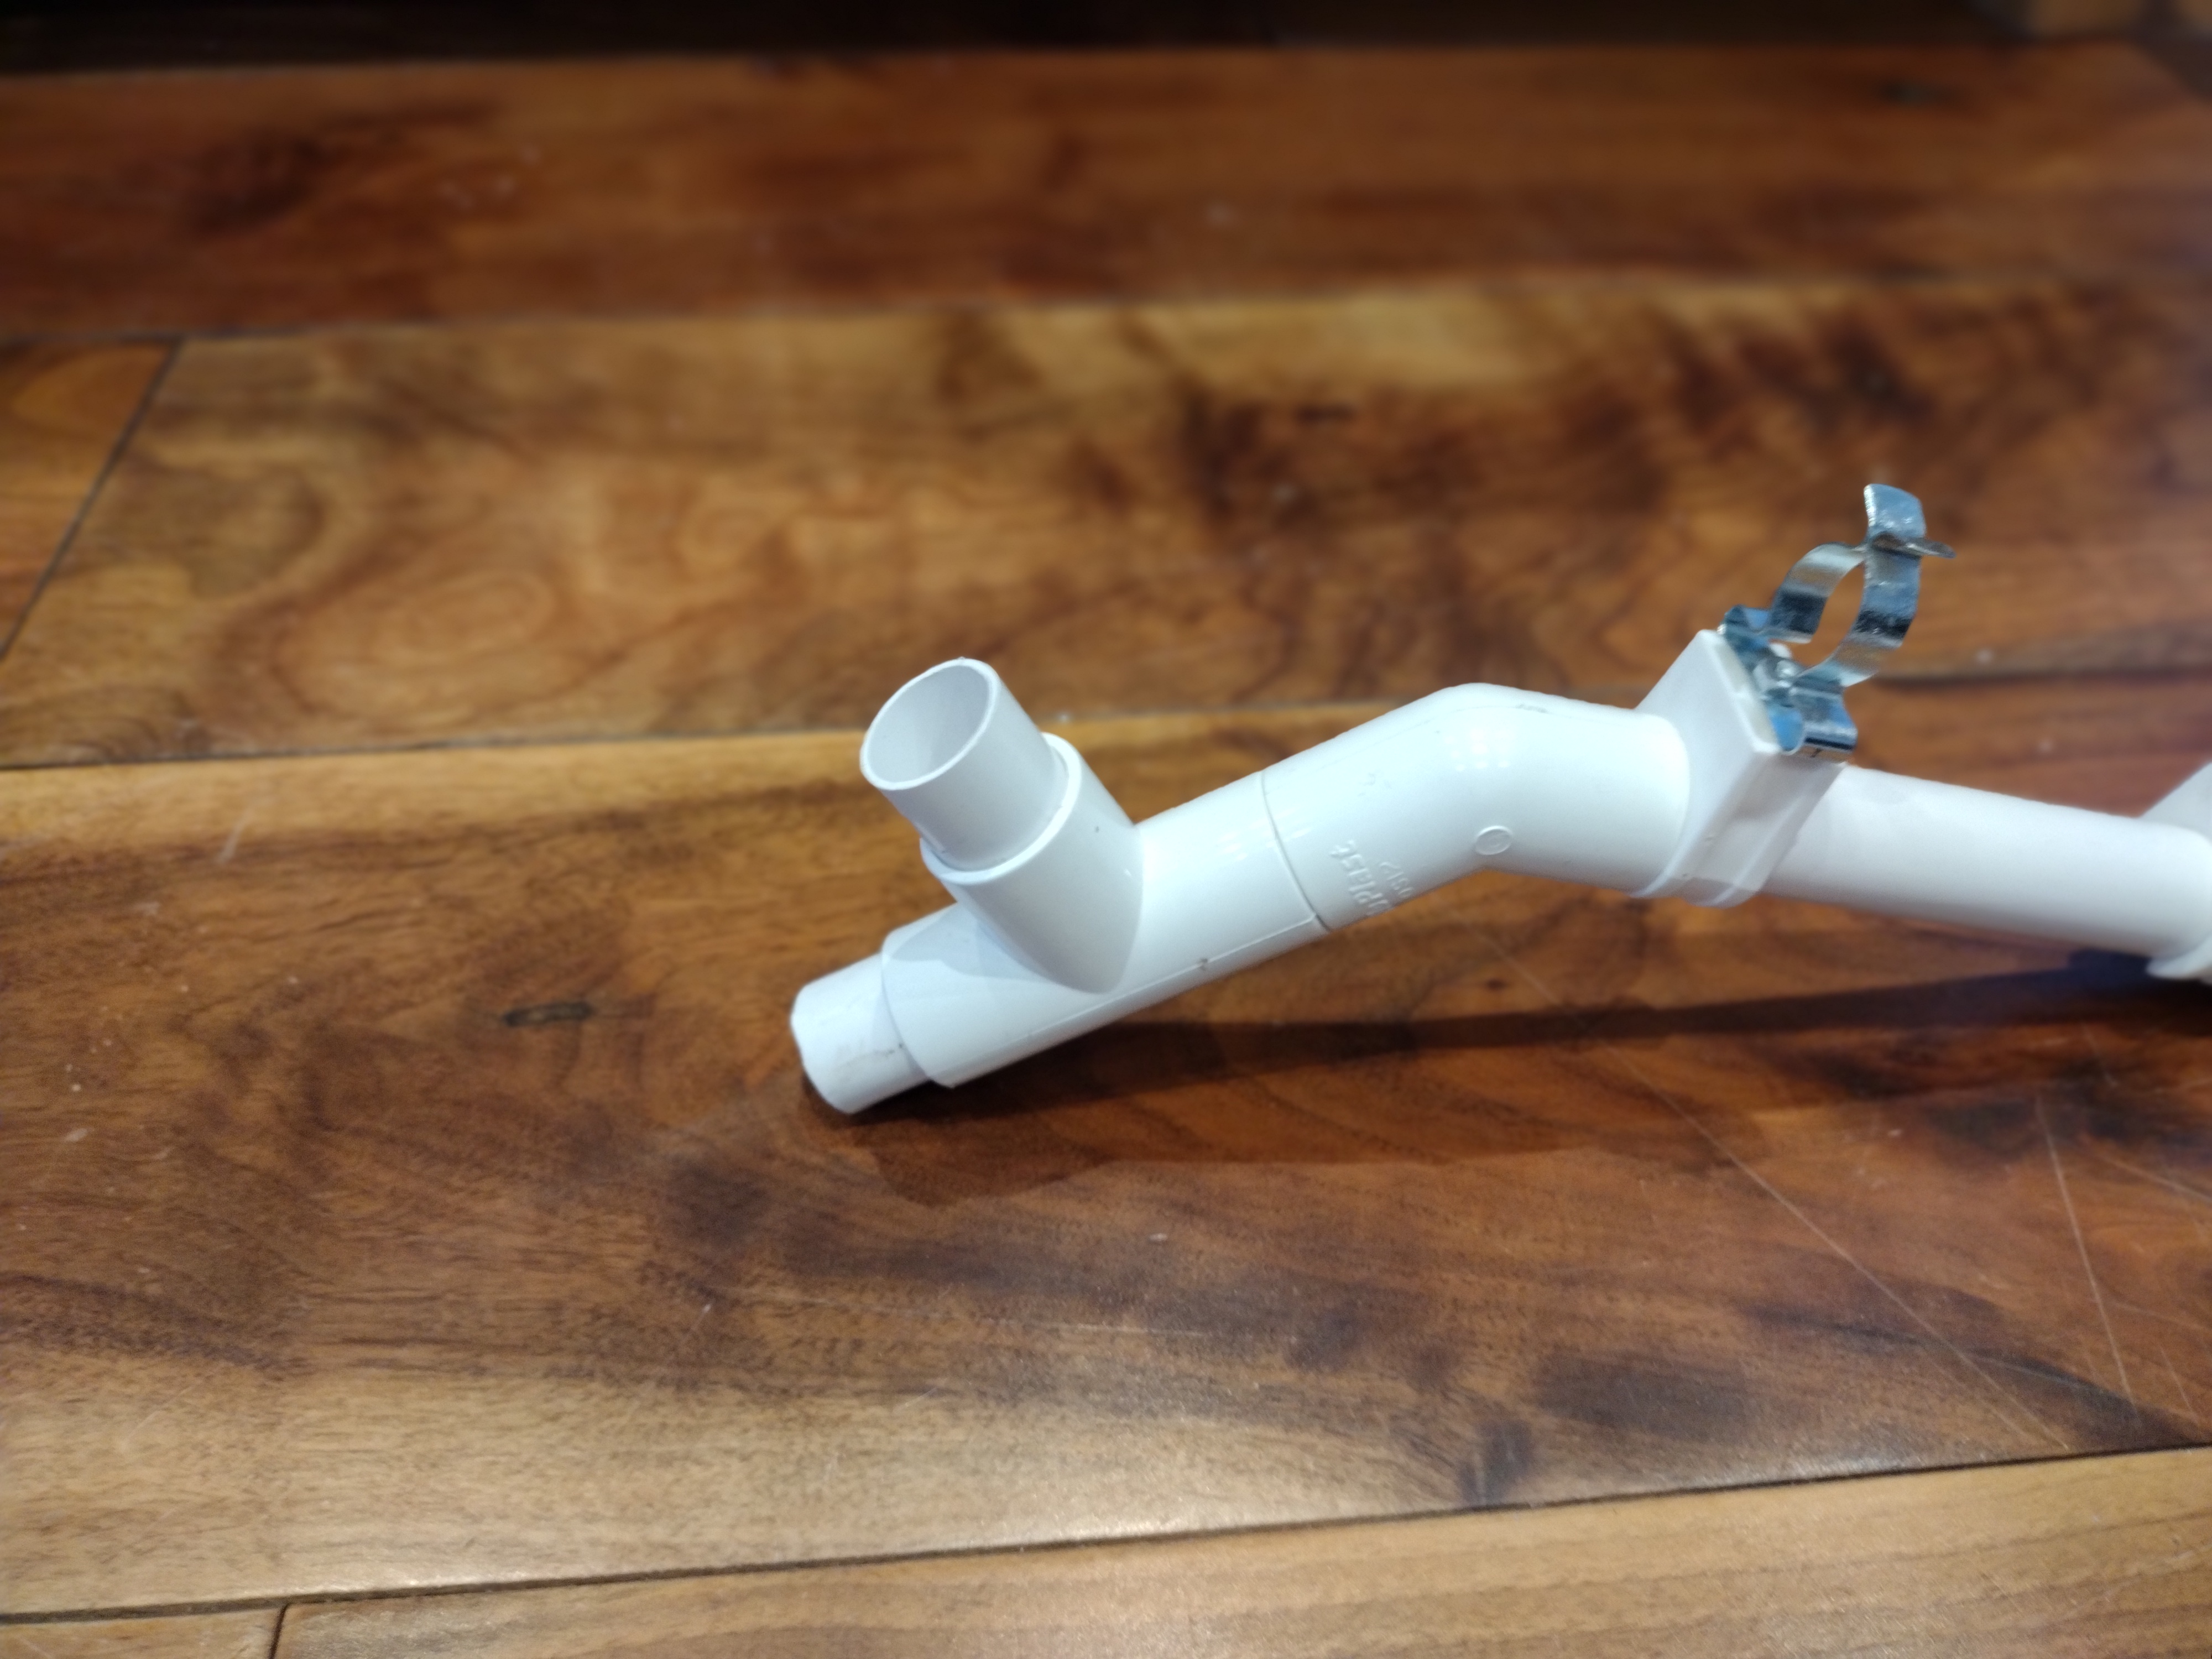
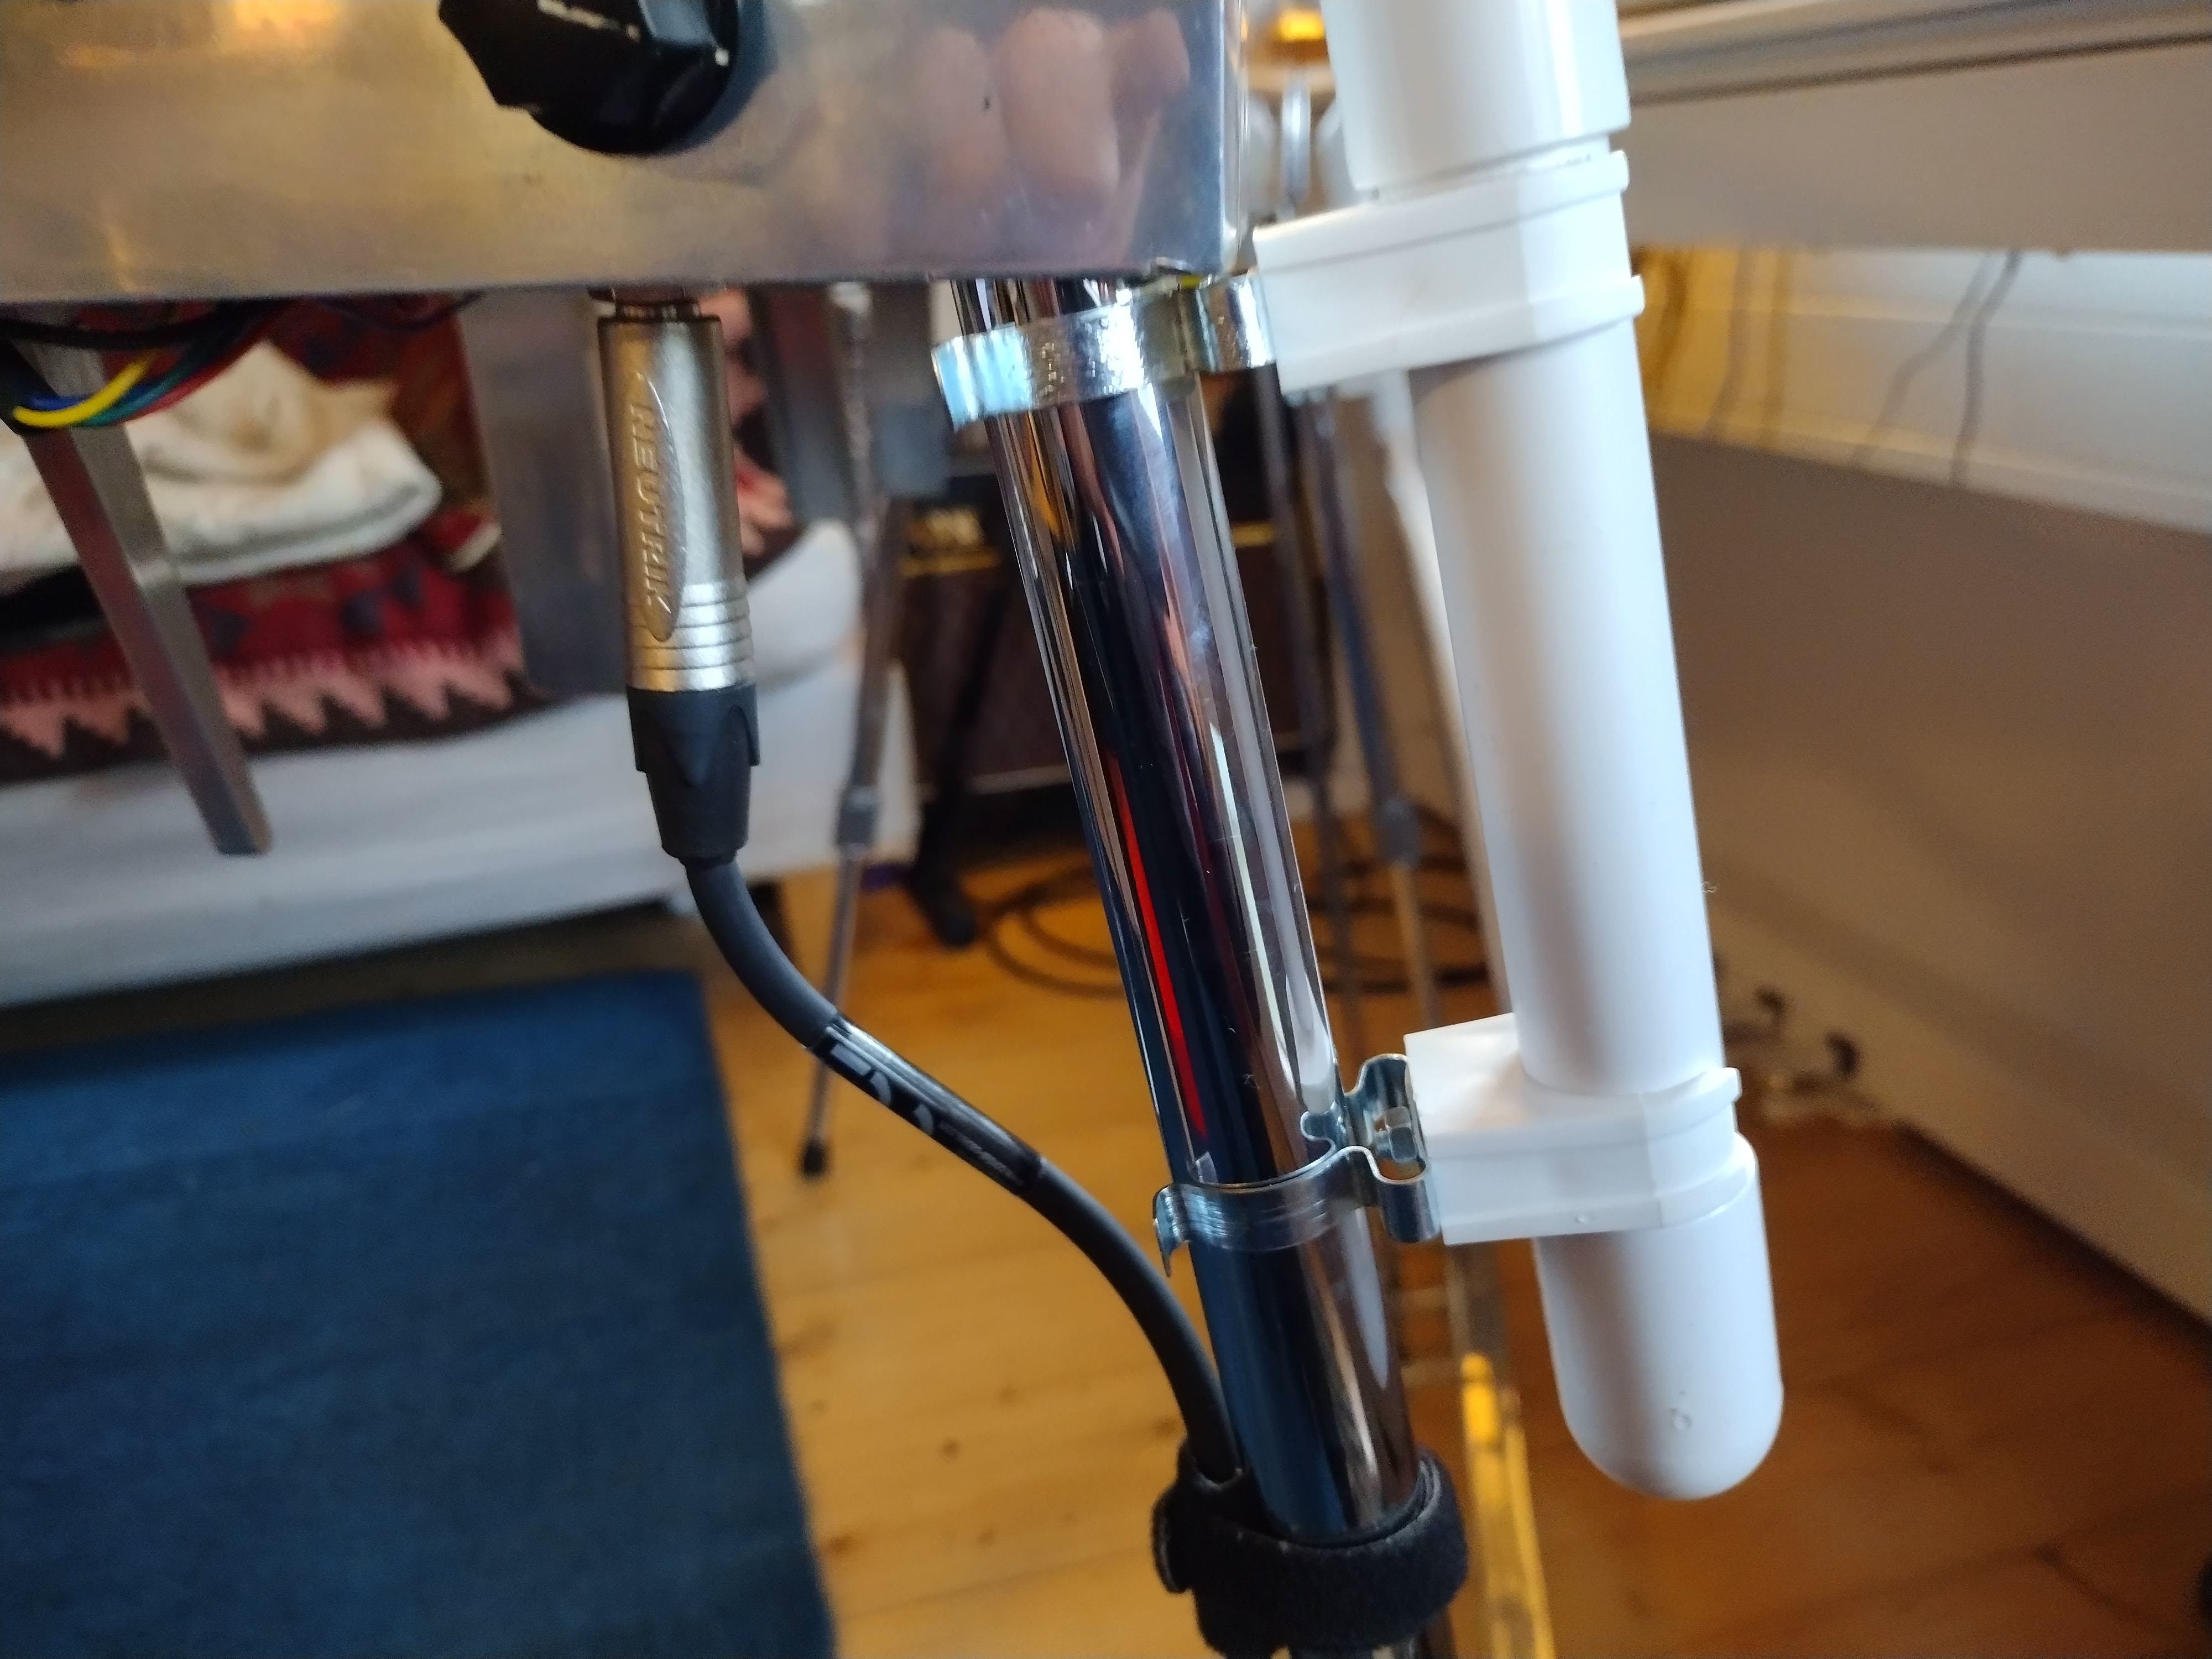
The first task is to assemble the clips. These are made of two parts: the PVC clip connects to the music stand and the metal clip attaches to the guitar legs. Make sure the screw isn’t too long or you’ll scratch the legs! You can cut these screws down to size using a bench vice and a hacksaw.

Here’s the clip assembled. Make sure the screw is good and tight.
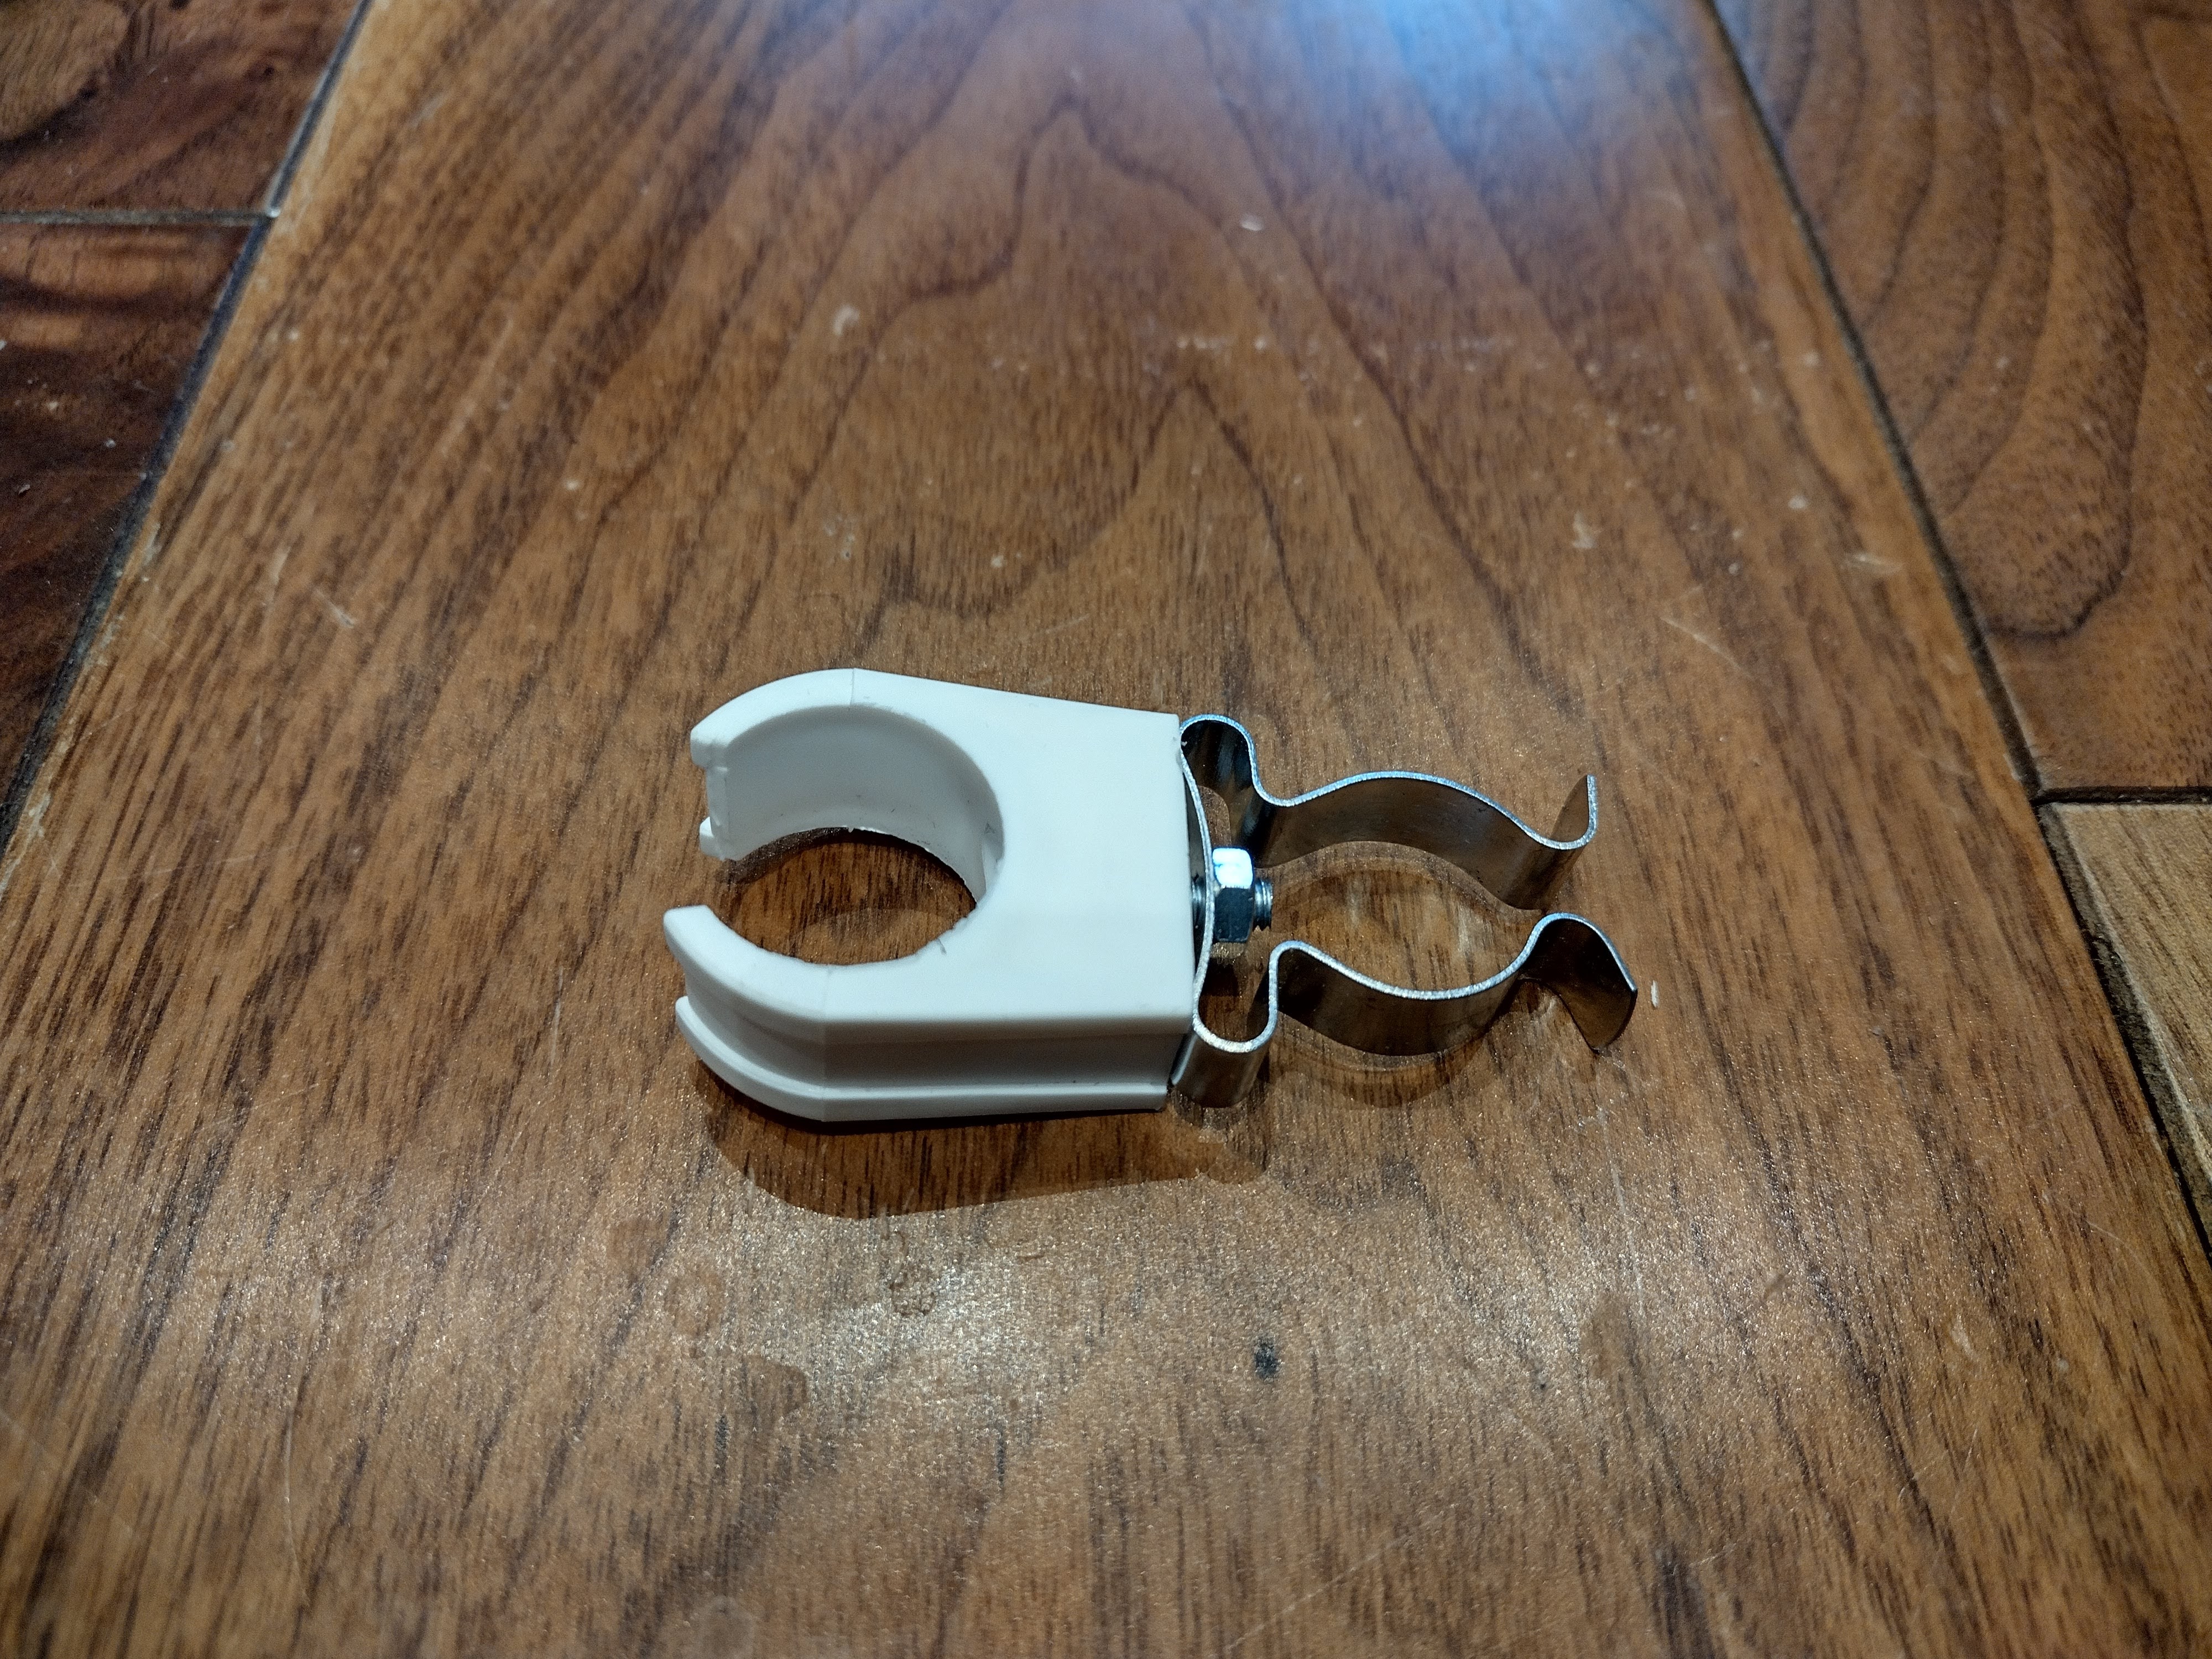
Slide two of these clips onto each 145mm piece of pipe.

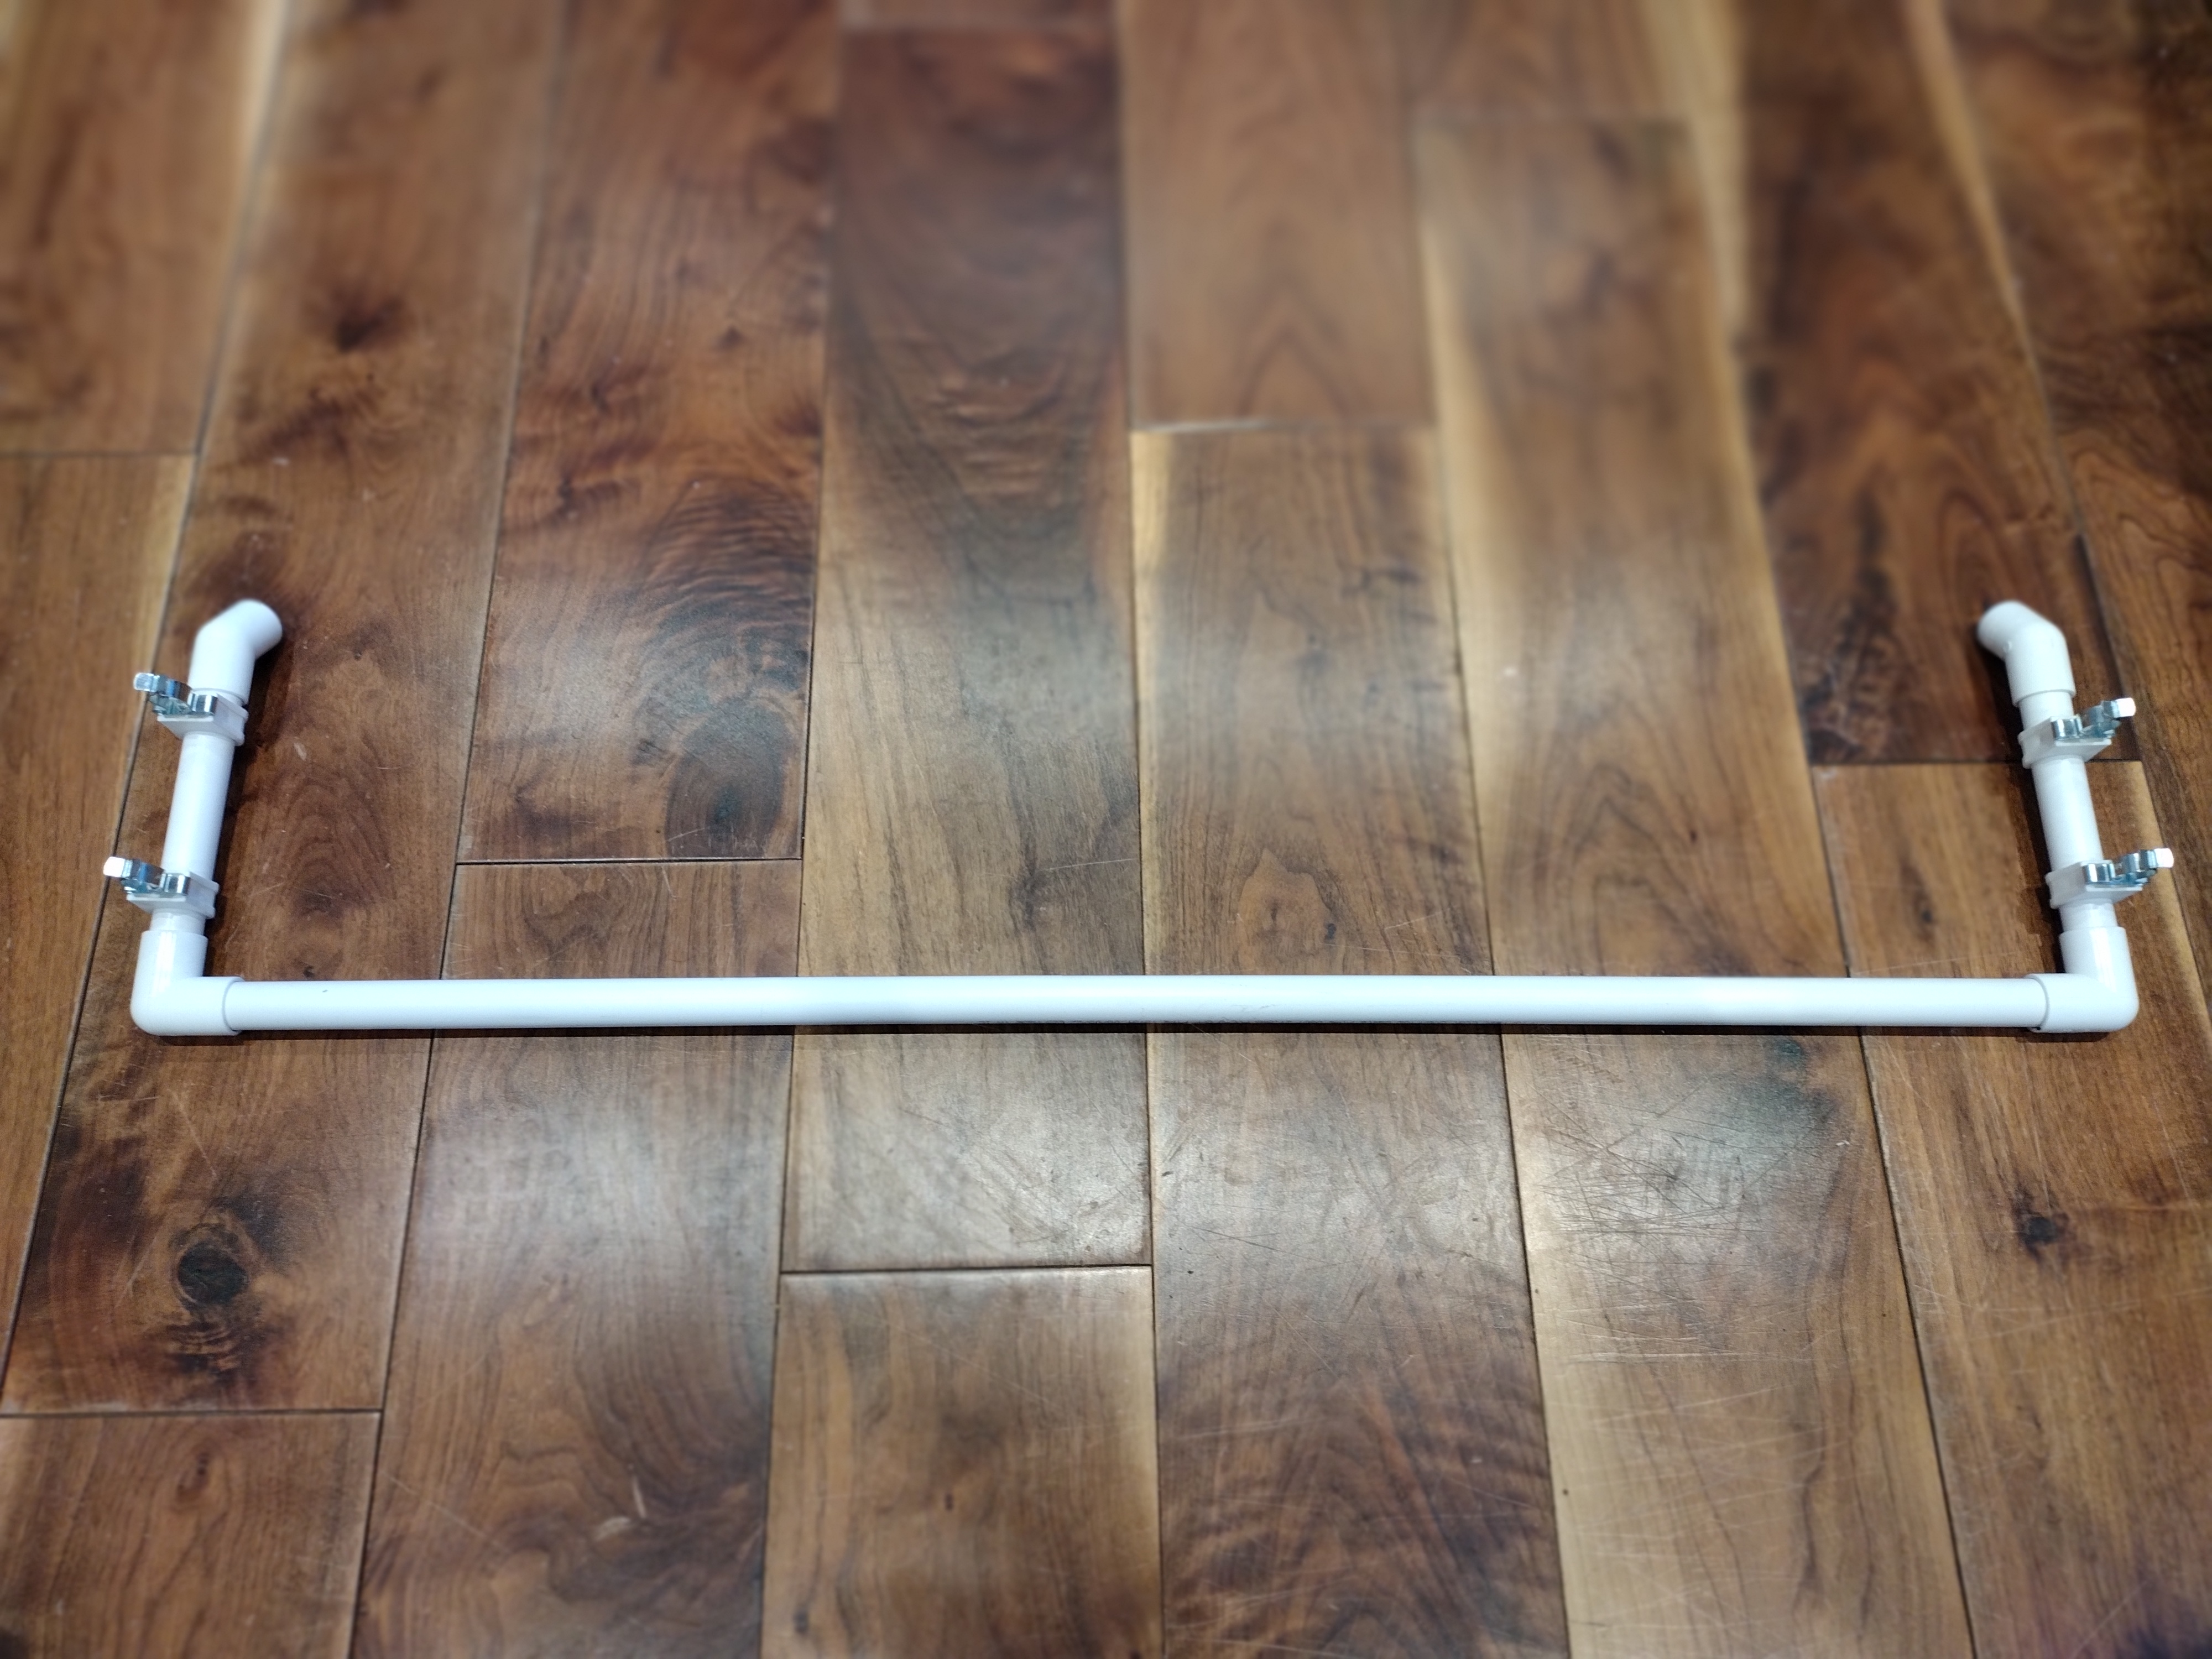
Assemble the piece shown below.
Now, use the 36mm pipe sections with the T-sections to make two of these:

Add the T-junctions like this, one at each end:
Now use an 830mm section and two right angle joints to complete this piece as shown:
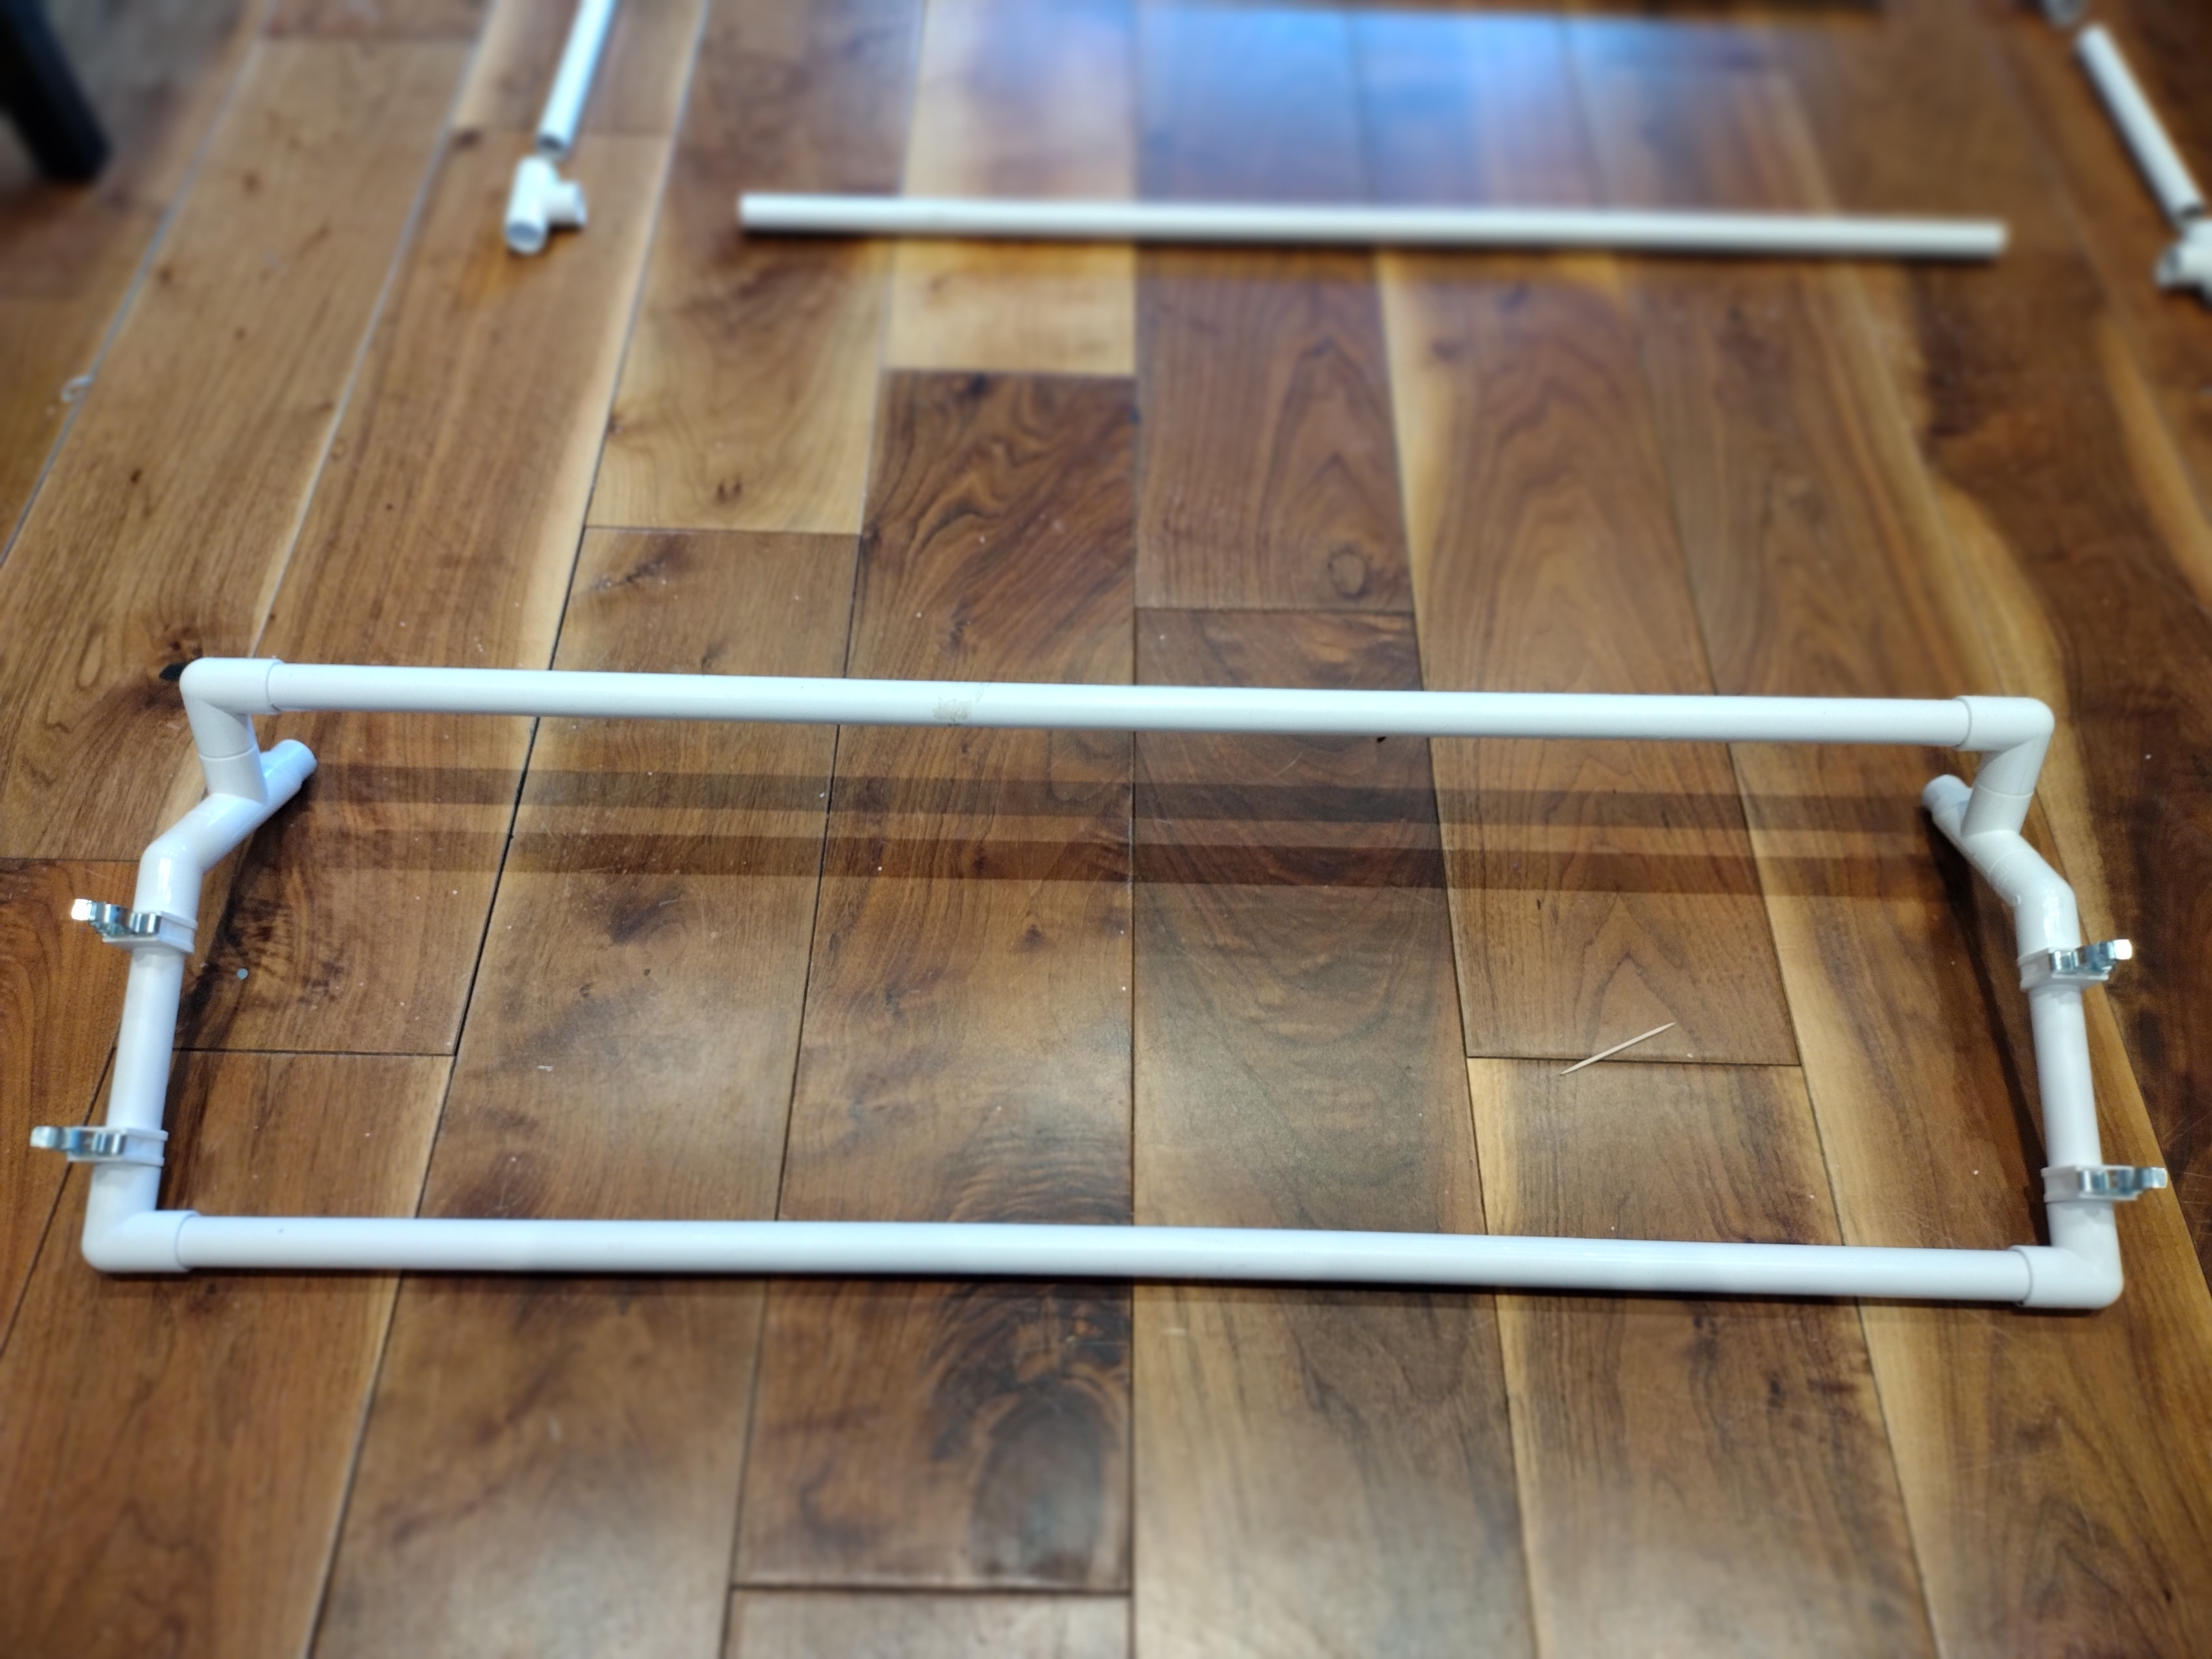
Now, assemble the second piece. Here we see all the parts layed out prior to assembly…
…and fully assembled it should look like this:

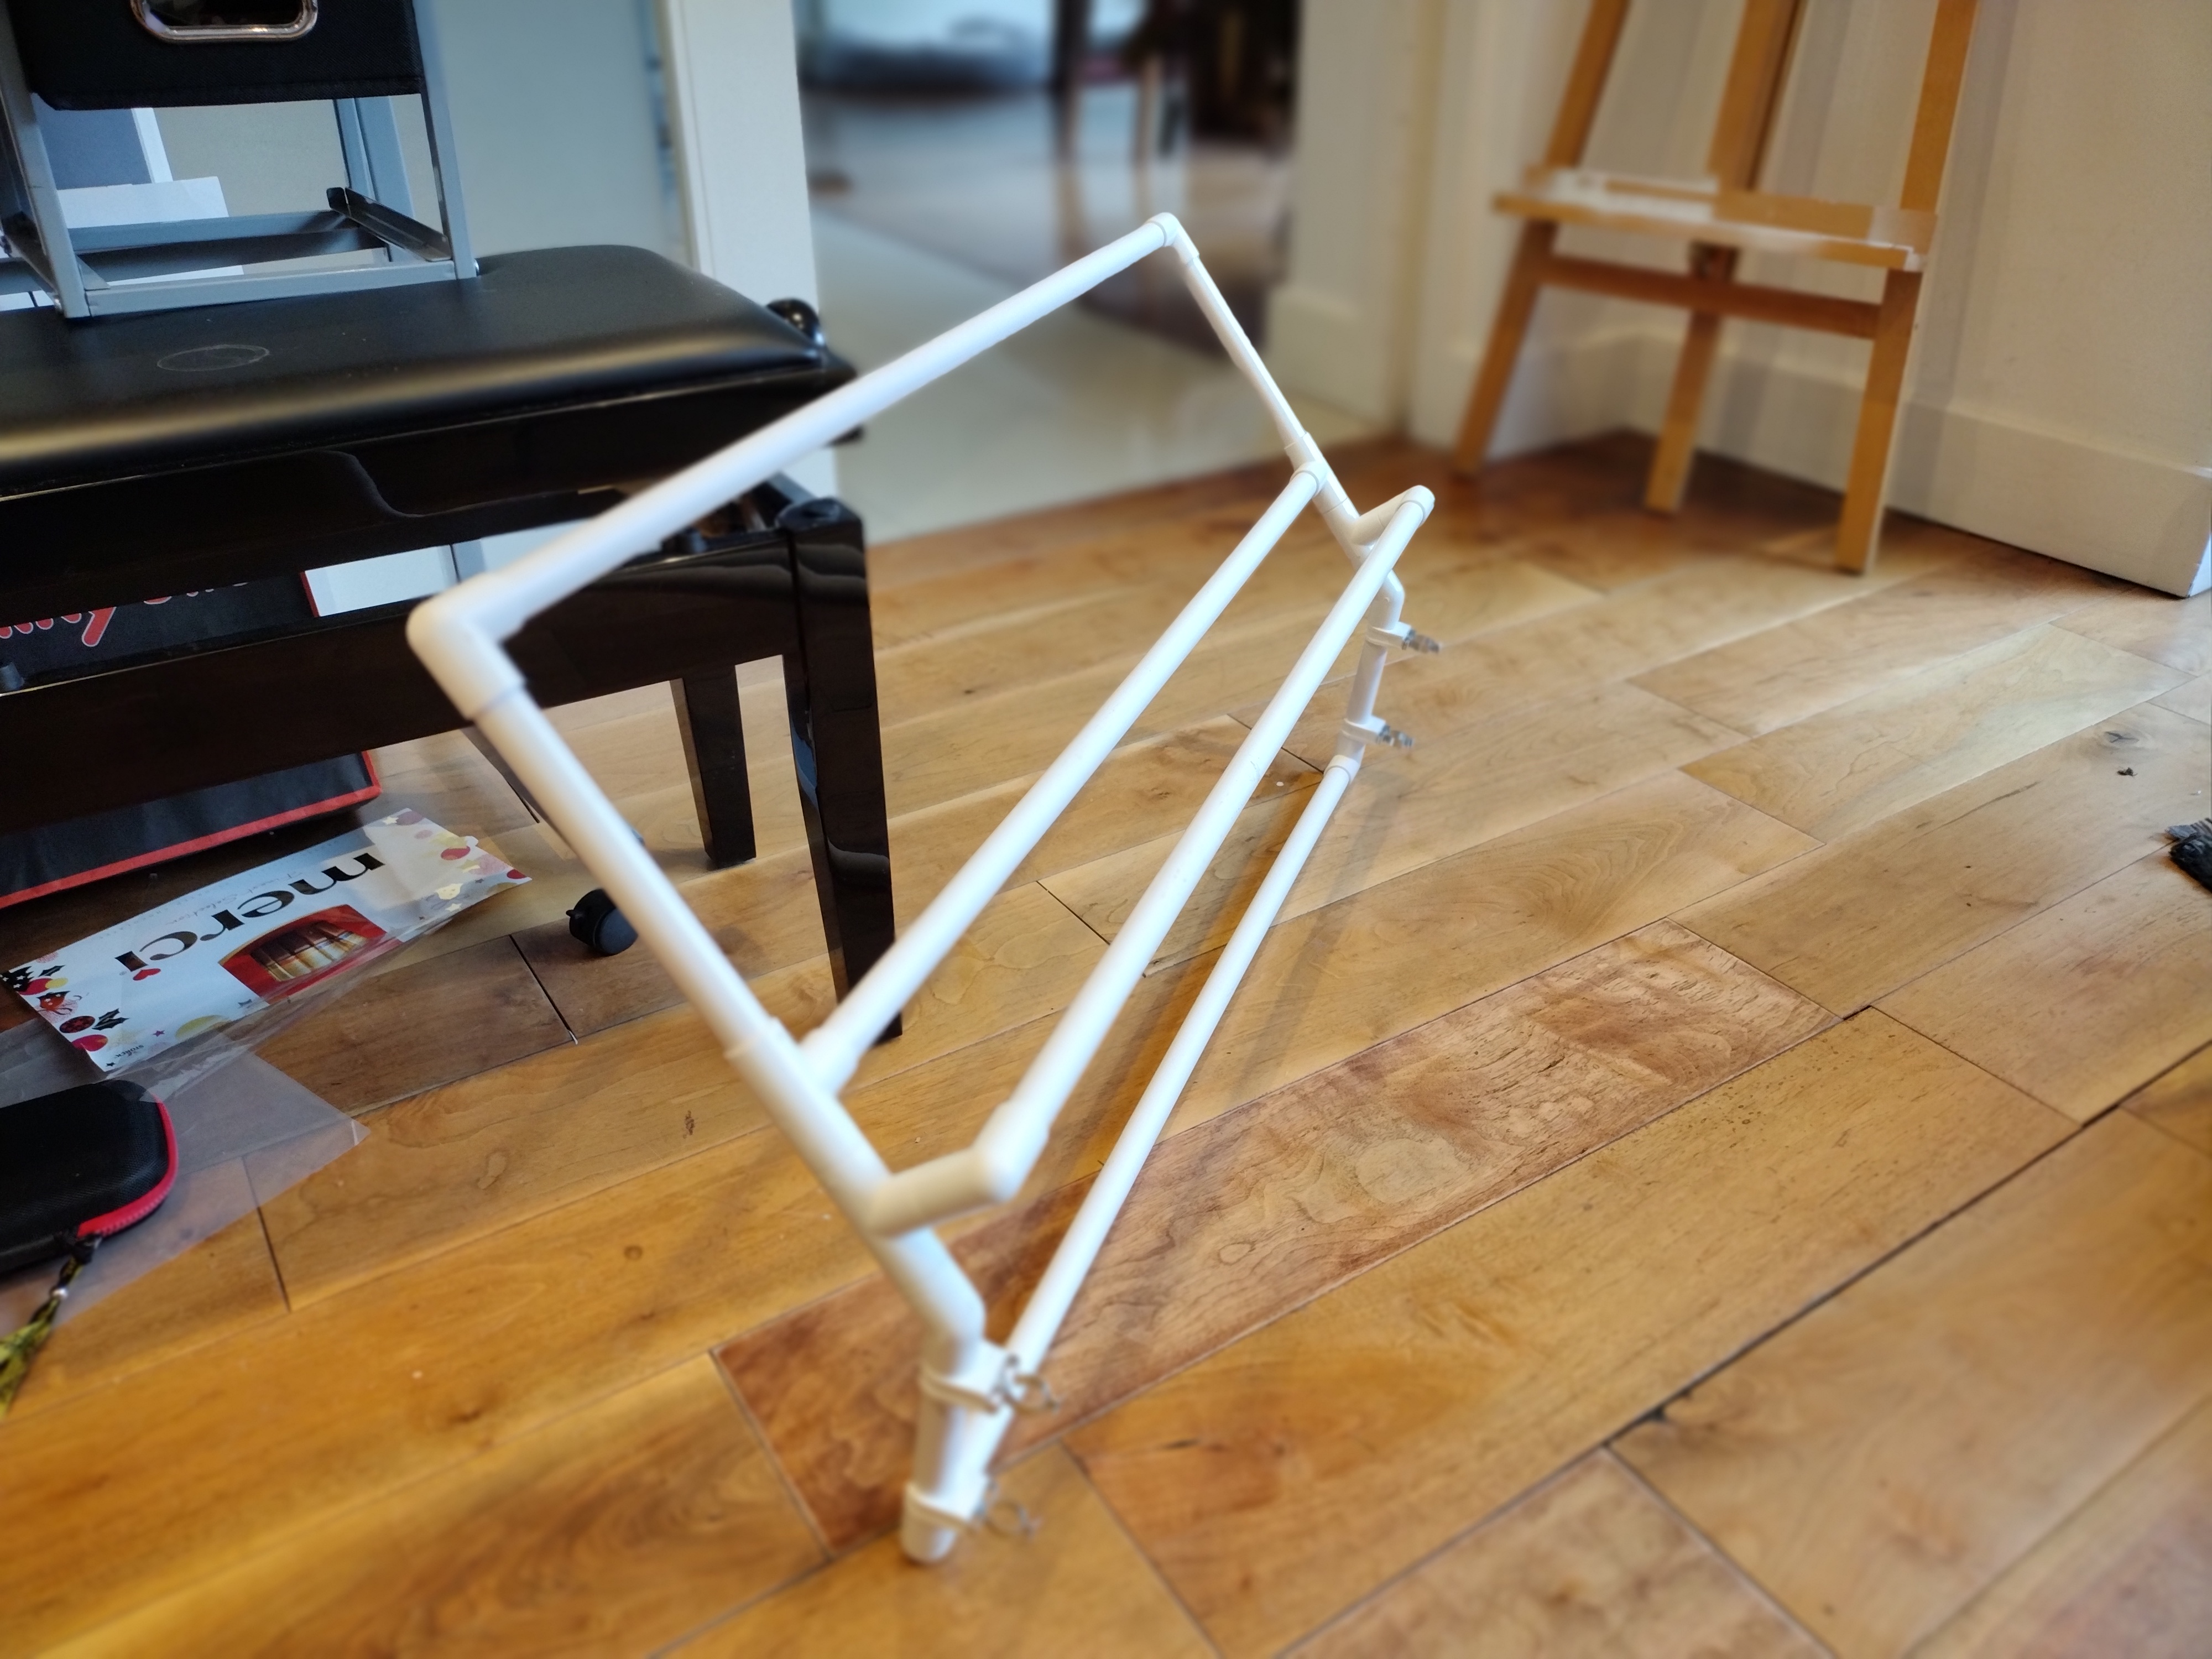
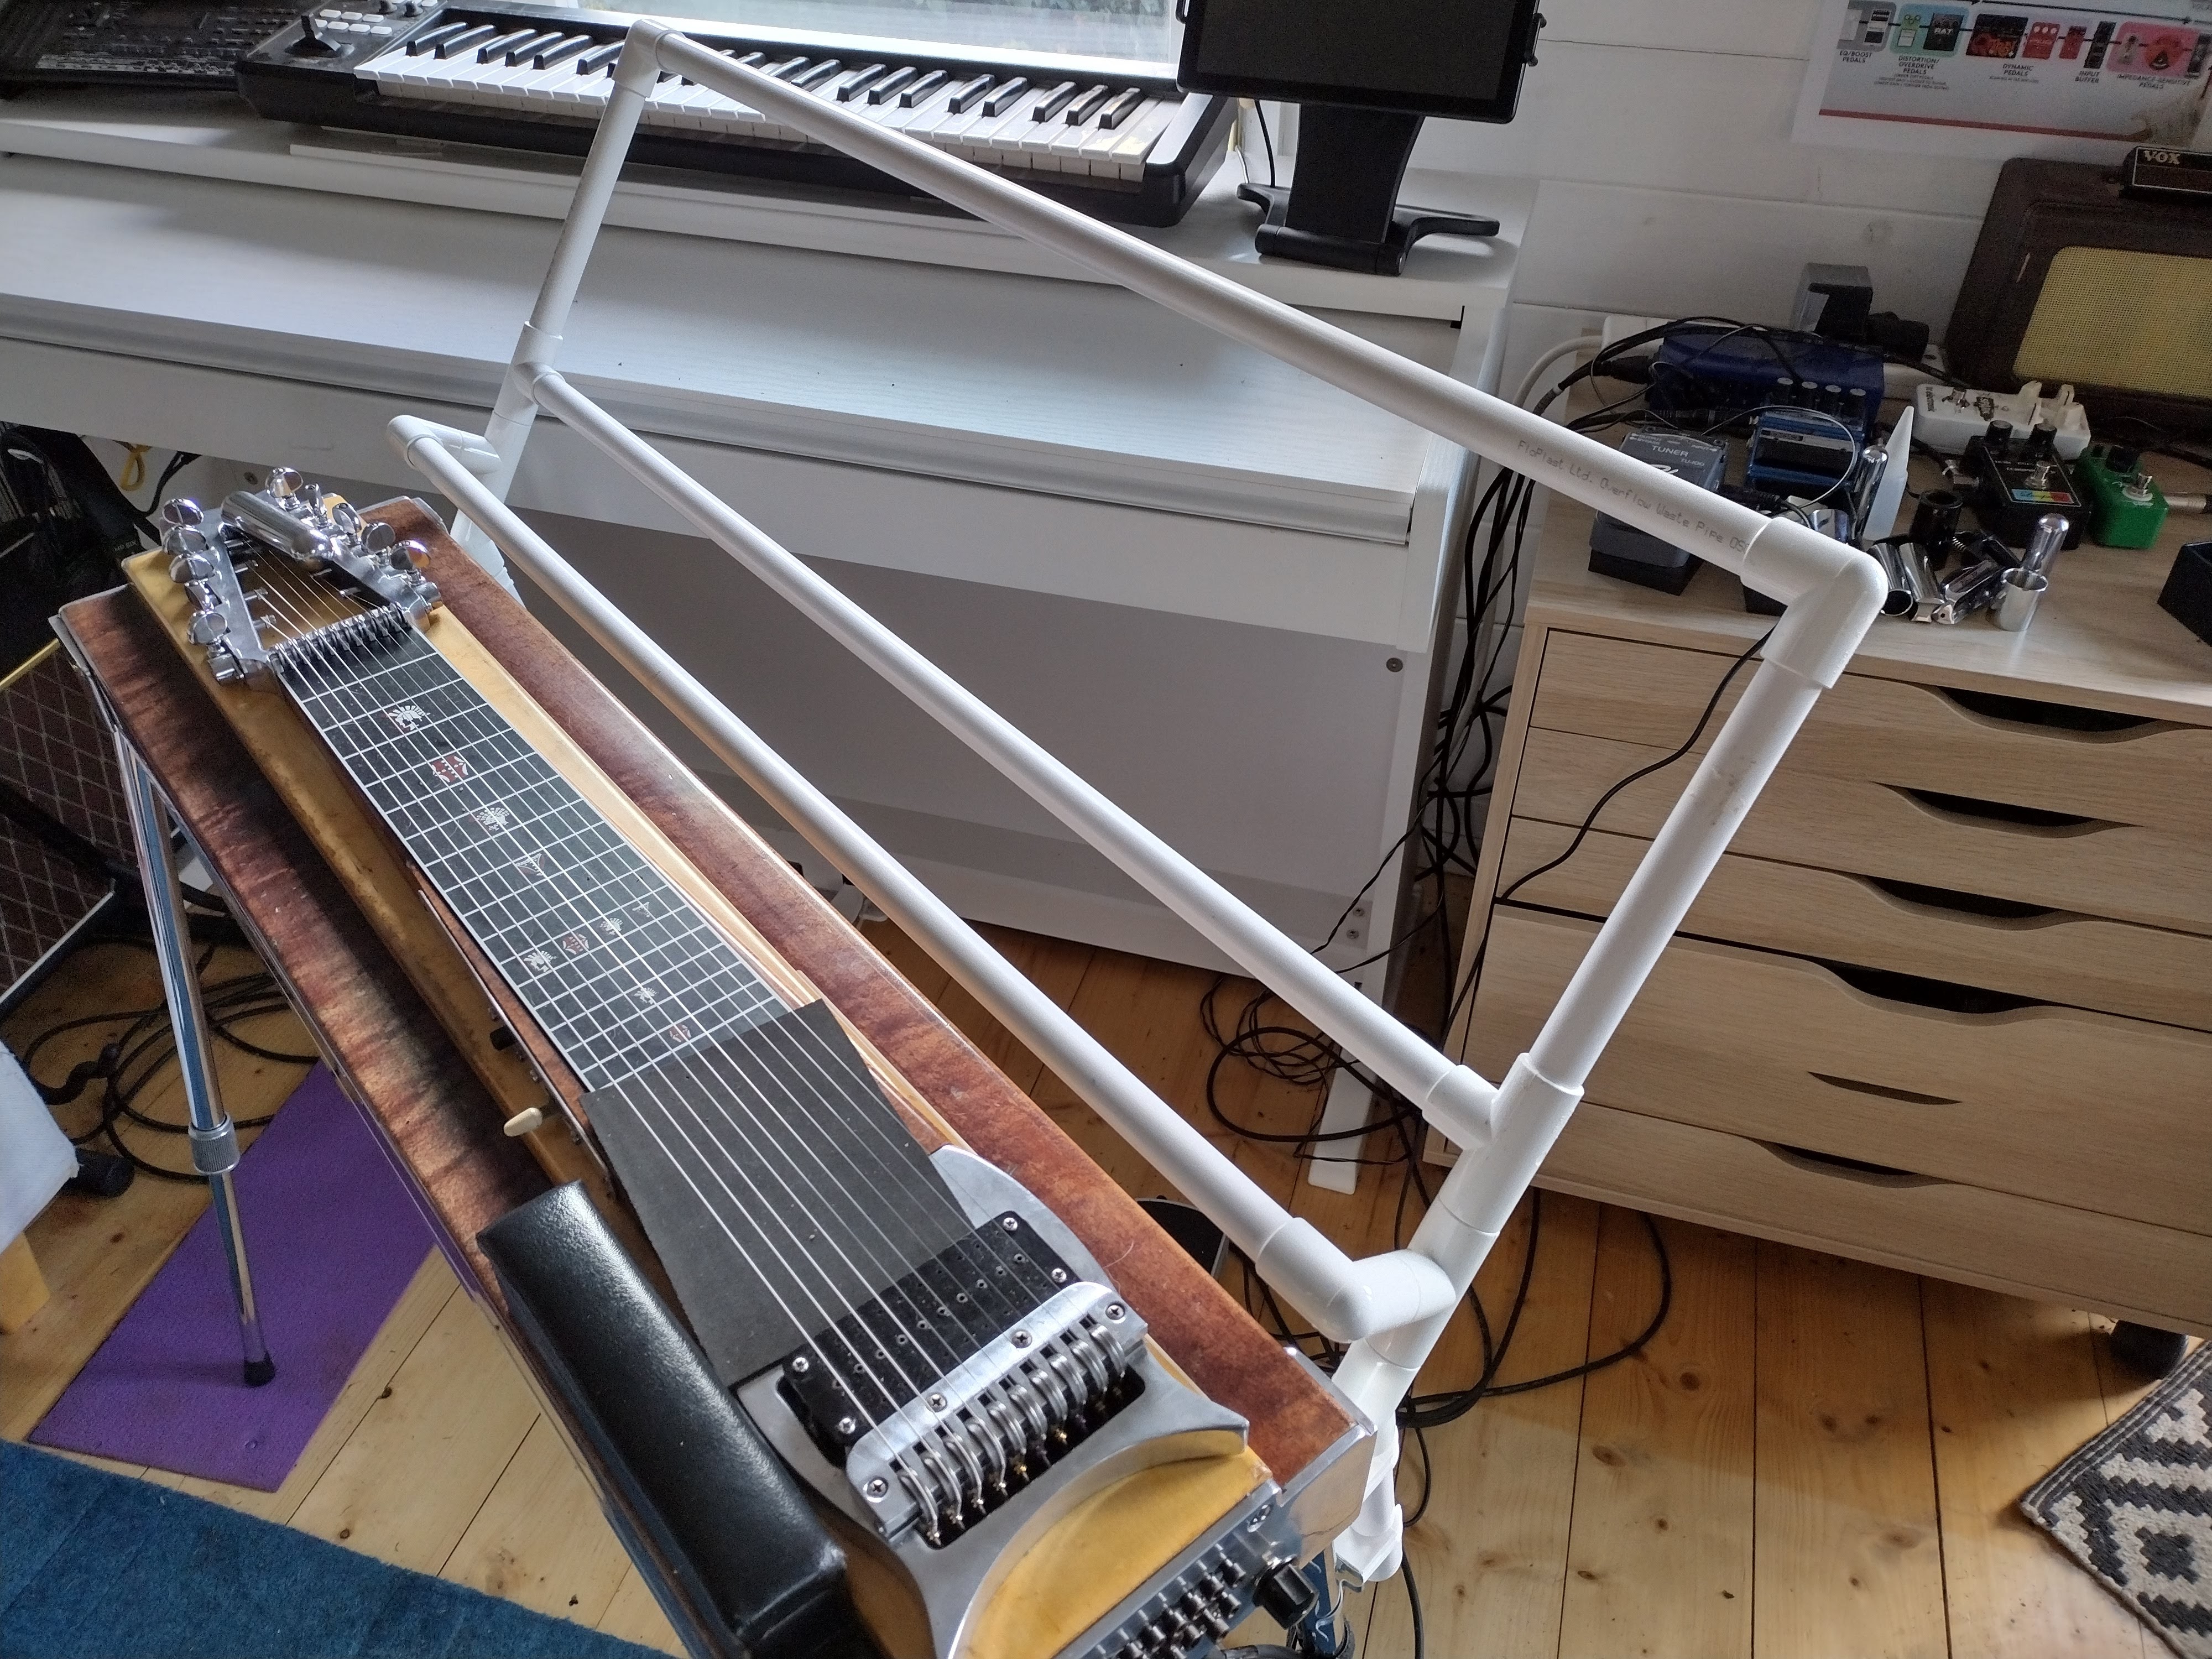
So, here are our two pieces ready to be paired up. I like to think of these as sections A and B. Later I’ll bond all the pieces in each section so I can disassemble the music stand into 2 pieces when I need to.

Fully assembled it should look like this:
Here I’ve clipped section A onto the legs of my guitar.
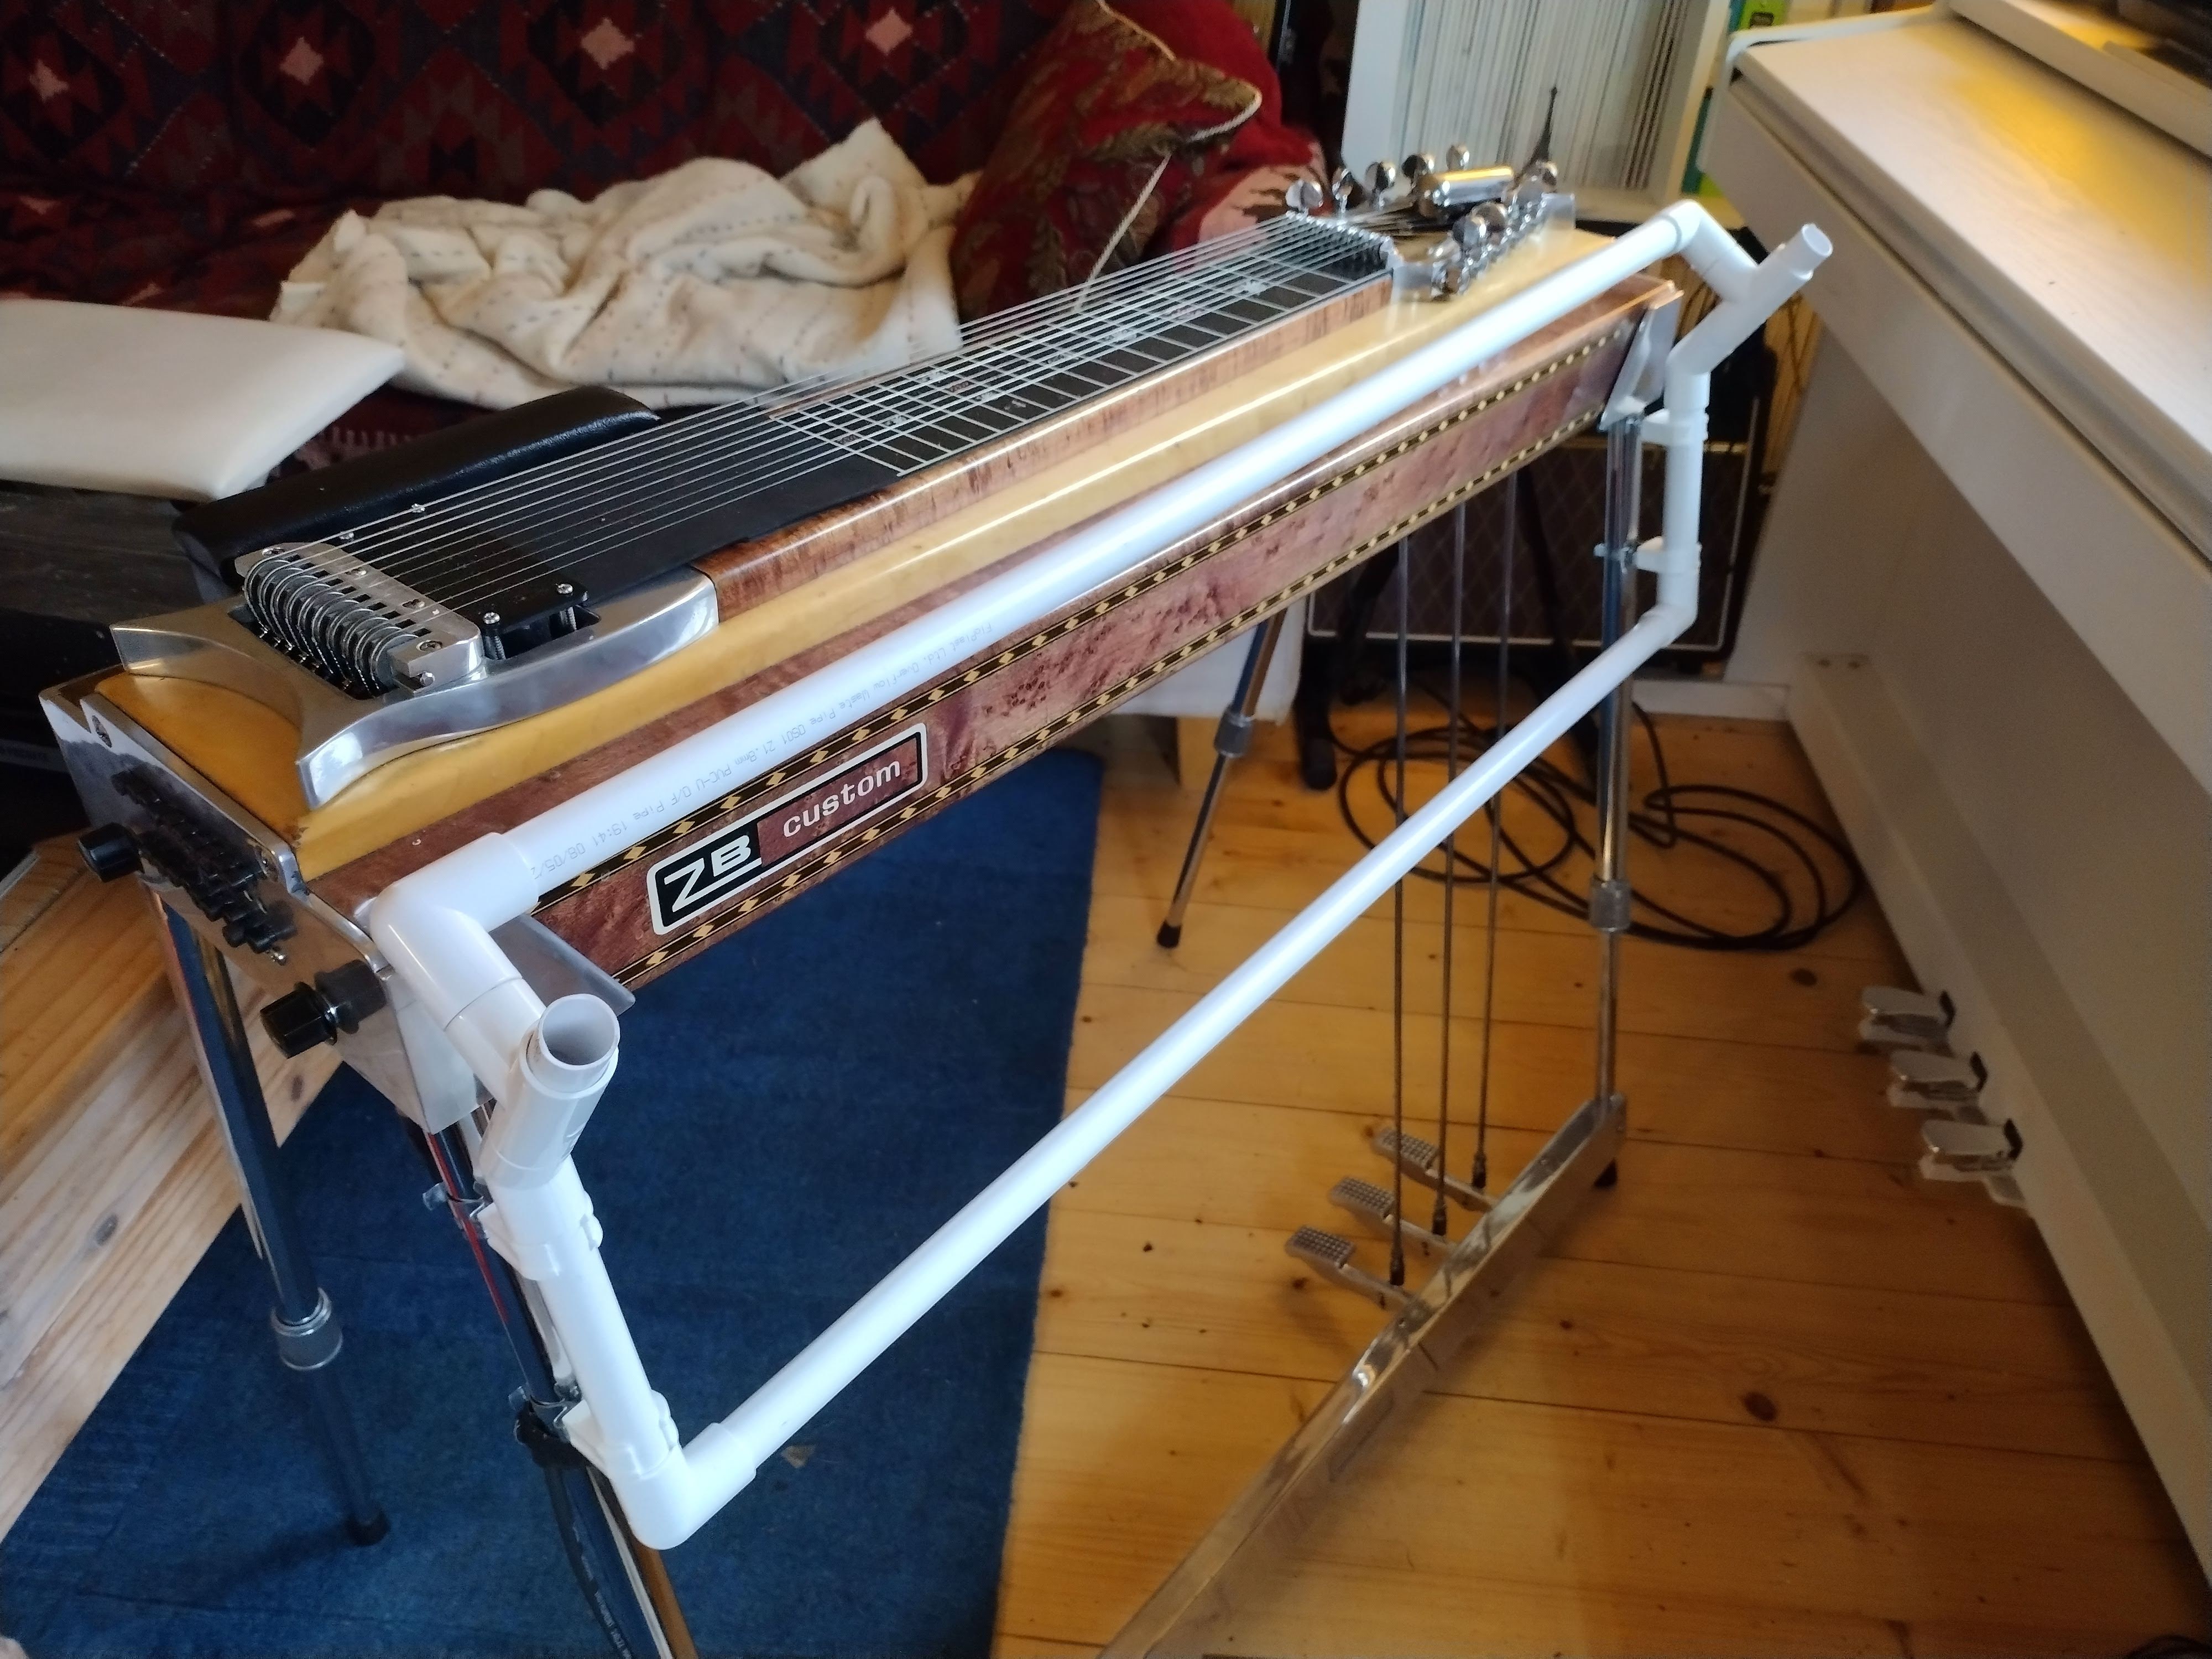
And now I’ve added section B:
Use a couple of hose clips to stop the stand slipping down the legs, one on each leg:

Last, we just need to add the backing board.
Hope this is useful.
Neil.
